How to Throw on the Run: Technique Tips for Athletes
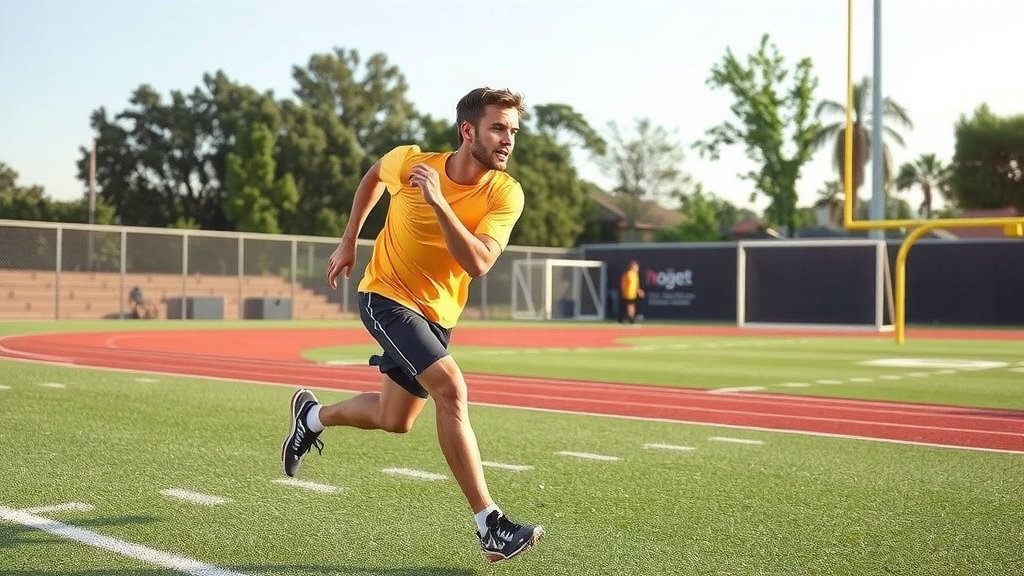
To throw on the run, plant your lead foot, rotate your hips toward the target, and release the ball with a quick snap of your wrist, all while keeping your eyes up. It’s basically a regular throw done faster, with less windup and more footwork.
We researched what coaches and athletes teach, and we found that footwork matters more than arm strength here. Whether you play baseball, football, or softball, the keys are the same: stay balanced, point your shoulder at the target, and let your legs do the heavy lifting. Sounds simple, right? It is, once you practice it a bit.
- Set your feet fast — even a partial plant gives you power.
- Point your front shoulder where you want the ball to go.
- Use a short, compact arm motion instead of a full windup.
- Follow through toward your target to keep throws accurate.
- Practice at game speed so it becomes second nature.
Below, we break down exactly how to throw on the run step by step, so you can stop guessing and start making those off-balance throws stick.
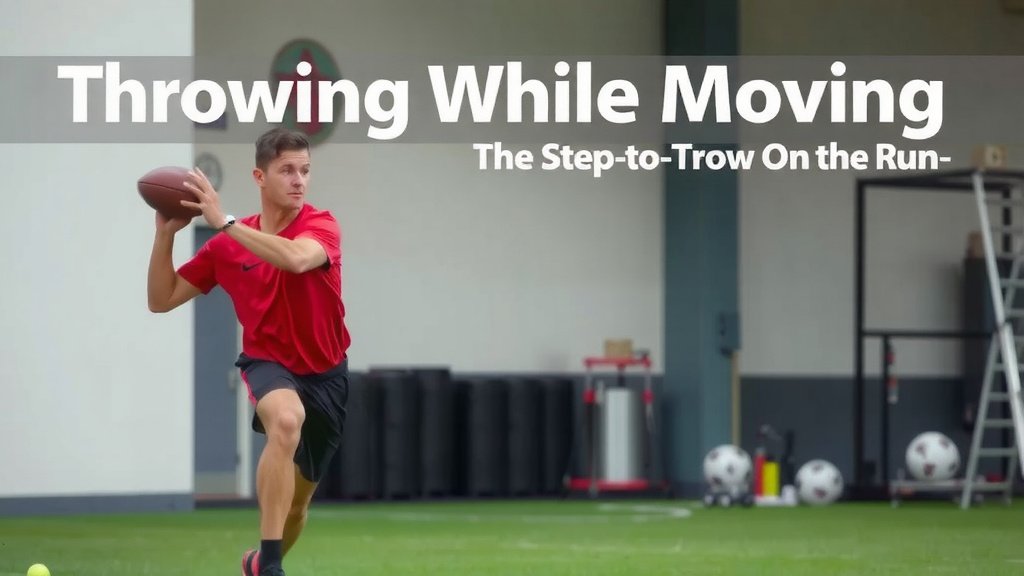
Throwing While Moving: The Step-by-Step Breakdown
The fastest way to learn is to break the motion into four parts: footwork, body rotation, arm action, and release. Do each part right, and the throw almost throws itself. Skip a step, and your ball ends up in the parking lot.
We researched what baseball, softball, and football coaches actually teach, and we found they all follow the same sequence. Here’s how it works, one step at a time.
Step 1: Get Your Feet in Order
Your feet come first, always. As you run, you’re looking for a chance to plant your back foot — your throwing-side foot — right under your hips. That plant is your power source.
Think of it like jumping off a diving board. You can’t jump from flat ground and get the same pop. Your planted foot is the board. Even a rough, off-balance plant beats no plant at all.
The Crossover Move
Many infielders use a quick crossover step to get the plant foot down sooner. You step across your body with the foot opposite your throwing hand, then plant. It sounds awkward, but try it slow a few times and it clicks fast.
Step 2: Rotate Your Hips and Shoulders
Once that foot plants, your hips want to turn toward the target. Let them. Your front shoulder should point where the ball is going — it’s like aiming a garden hose before you turn on the water.
Here’s where most people mess up: they lead with the arm instead of the body. We found that coaches constantly repeat the phrase “separation” — your hips turn first, then your shoulders and arm follow. That gap between hips and shoulders is where your throwing power hides.
Step 3: Shorten Your Arm Swing
Forget the big windmill arm you use with a full windup. On the run, you want a short, compact motion. Your hand stays roughly near your ear, and you push the ball out in one quick action.
Why shorter? Because you don’t have time for anything else. A long arm swing on the run is like bringing a suitcase through a revolving door — it just doesn’t fit.
Step 4: Snap and Follow Through
Release happens out in front of your body, with a firm wrist snap. Then follow through — your hand should finish across your body, pointing at the target.
Many experts say the follow-through is what keeps throws accurate when your feet aren’t perfect (Mayo Clinic notes that proper follow-through also helps protect the shoulder and elbow from strain). Your arm is your last chance to correct a messy lower half. Use it.
Common Mistakes That Wreck Your Throw
We found that most bad throws on the run come from the same handful of errors. Check yourself against this list:
- Throwing with your arm only — no hip turn means no power and no accuracy.
- Overstriding — a huge final step throws off your balance and drops your release point.
- Full windup — too much arm motion means you release late and sidearm the ball.
- Dragging your back foot — keep it moving after the plant so your body flows toward the target.
- Watching your target too long — get your eyes there early, then trust the throw.
Sound familiar? Everyone does at least one of these at first. The fix is usually just slowing down in practice so the right pattern sticks.
Footwork Drills to Practice at Home
You don’t need a field or a partner for most of these. A wall, a ball, and about fifteen minutes will do.
Shuffle and Plant Drill
Shuffle sideways for five steps, plant your back foot, and mimic the throw with no ball. Focus on that plant and hip turn. Do ten reps each direction.
Wall Throws at Game Speed
Stand fifteen feet from a wall, jog a few steps, plant, and throw with a compact motion. Catch the rebound and go again. This builds the timing between your feet and arm.
Crossover Ladder Work
If you have an agility ladder (or sidewalk chalk), practice crossover steps through it. This trains the exact footwork infielders use to plant faster.
How Technique Changes by Sport
The core motion stays the same, but each sport adds its own twist. Here’s a quick comparison:
| Sport | Big Difference | Key Focus |
|---|---|---|
| Baseball | Full body rotation after fielding | Plant foot alignment with target |
| Softball | Shorter distances, faster releases | Compact wrist action |
| Football (QB) | Throwing from a sprint or rollout | Lower half momentum toward target |
| Football (skill players) | One-hand grabs, quick flips | Balance before release |
Quarterbacks are the masters here. Watch any pro QB roll out and you’ll see the same sequence: plant, rotate, short arm, snap. Copy it.
Staying Safe While You Learn
Throwing on the run puts extra stress on your shoulder and elbow, so build up gradually. Cleveland Clinic guidance on throwing injuries points to warm-ups and rest as the best protection.
Warm up your arm with easy throws before any hard work. If your shoulder or elbow aches afterward — not sore, aching — take a day off. Soreness that lingers is your body’s way of filing a complaint. Listen to it.
Age Matters Too
Younger players should keep pitch and throw counts reasonable. Research summarized by the NIH and youth sports medicine groups shows that overuse, not one bad throw, causes most throwing injuries in kids. Ten good reps beat fifty sloppy ones every time.
Your Quick Practice Checklist
Before every session, run through this list:
- Plant your back foot under your hips, not out in front.
- Point your front shoulder at the target before you throw.
- Keep your arm swing short and near your ear.
- Snap your wrist and follow through across your body.
- Start slow, then build to game speed.
- Stop if anything hurts — aches are warnings, not badges.
Print it, screenshot it, or just remember it. Run this checklist for a couple of weeks and those off-balance throws start feeling automatic. That’s when the fun begins — when you field a ball on the run and flick it to first without even thinking about it.
Conclusion
Throwing on the run isn’t about a rocket arm. It’s about footwork, rotation, and a compact release working together in about a second. Get your plant foot down, turn your hips and shoulders toward the target, keep your arm short, and snap your wrist through the follow-through. The drills we covered — shuffle and plant, wall throws, crossover work — take fifteen minutes and zero fancy equipment. Your throws won’t be perfect at first, and that’s fine. Every player we researched started with some ugly ones. So grab a ball, head to a wall this week, and run ten slow reps. Game speed can wait until the motion feels natural.
Frequently Asked Questions
How long does it take to get good at throwing on the run?
Most players notice real improvement in two to three weeks of regular practice. The key is doing slow, deliberate reps before speeding up. If you practice a few times a week, the motion starts feeling automatic within a month.
Should I throw sidearm when I’m off balance?
Not on purpose. Sidearm throws usually happen when your arm swing is too long or your release comes late. Keep your hand near your ear and a compact motion, and you’ll stay over the top even while moving.
Can I practice throwing on the run by myself?
Absolutely. A wall and a ball cover most of what you need. Wall throws with a short jog before each rep build timing and footwork without a partner. Add an agility ladder or chalk lines for crossover step work.
Why do my throws sail high when I’m running?
High throws usually mean you’re overstriding or releasing too late. When your final step is too big, your torso leans back and your release point drops or drifts. Shorten that last step and let your hips carry you toward the target.
Is throwing on the run bad for your arm?
It adds stress to your shoulder and elbow, but it’s manageable with smart habits. Warm up with easy throws first, keep your volume reasonable, and rest when you feel aching rather than simple soreness. Youth players should watch their throw counts especially closely.