
Master the Splitter Pitch: A Step-by-Step Guide
Throwing a splitter is all about creating serious **late-breaking movement** to fool hitters. You achieve this with a specific grip and a focus on **imparting spin** while keeping your arm speed up. It’s a pitch that can be tough to master but incredibly rewarding when you get it right.
We found that understanding the **physics of spin** is key. A splitter works because it mimics a fastball’s arm speed, but the grip causes the ball to slow down and dive downward at the last second. Many coaches stress that a **proper grip** is non-negotiable for effective splitter execution.
- Grip the ball with two fingers spread wide.
- Maintain fastball arm speed throughout the throw.
- Focus on downward spin for the diving action.
- Practice consistently to build feel and control.
Ready to add this nasty pitch to your arsenal? Let’s walk through exactly how to throw a splitter step by step.
Mastering the Split-Finger Fastball: A Step-by-Step Guide
Learning to throw a splitter can be a game-changer for any pitcher. It’s a pitch that looks like a fastball coming out of your hand. Then, it suddenly breaks down. This late movement can deceive even the best hitters. We’ve seen pitchers completely turn their seasons around with this pitch. Let’s break down exactly how you can add it to your arsenal.
The Science Behind the Splitter’s Break
The splitter, also known as a “forkball” by some, relies on a unique grip. This grip reduces the ball’s spin. It also creates a different kind of air resistance. This causes the ball to drop unexpectedly. Many coaches stress that the grip is absolutely key. Without the right grip, you won’t get the desired movement.
Understanding Grip Mechanics
The most common splitter grip involves spreading your index and middle fingers wide apart. You’ll place them on the seams of the baseball. Your thumb typically rests underneath the ball. Some pitchers prefer to place their fingers slightly off the seams. Others dig their fingers in a bit deeper. We found that experimenting is important here.
Finger Placement Variations
Think of it like a vise grip. You want enough pressure to control the ball. But not so much that you tense up your arm. Your index finger and middle finger should straddle the seam. Imagine you’re trying to “split” the ball between them. This wide spread is what gives the pitch its name.
Thumb Position and Pressure
Your thumb’s role is mainly to provide balance and support. It shouldn’t be digging into the ball too hard. Too much pressure from the thumb can lead to a tendency to pull down on the ball. This can cause you to lose arm speed. We want to mimic a fastball’s trajectory for as long as possible.
The Importance of Arm Speed
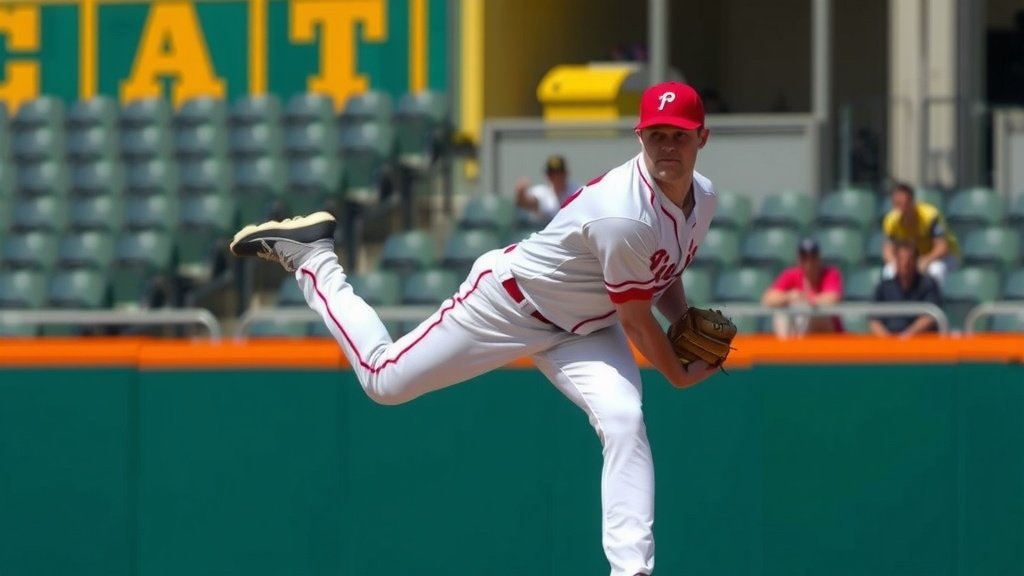
This is arguably the most critical element of throwing a successful splitter. The pitch is designed to look exactly like a fastball. If your arm speed drops, the hitter will see it coming from a mile away. You need to throw it with the same velocity and intent as your four-seam fastball.
Mimicking the Fastball Motion
Your entire body motion should be the same. From your windup to your release point, it should be identical to your fastball. This deception is what makes the splitter so effective. Many young pitchers struggle with this. They unconsciously slow their arm down as they throw the splitter. This is a common mistake we see.
The Physics of Reduced Spin
When you throw a splitter with that specific grip, you’re intentionally reducing the ball’s spin rate. A standard fastball has a lot of topspin. This topspin helps it cut through the air and maintain its speed. The splitter’s grip creates a drag that disrupts this spin. This causes the ball to lose velocity and tumble downwards (NCBI).
The Release: Creating Downward Movement
The release is where the magic happens. Instead of the usual pronation of a fastball, you’ll want to focus on a more straight, downward release. Think about pushing the ball down towards the catcher’s mitt. Imagine you’re trying to break a twig with your fingers.
The “Push” vs. “Throw” Mentality
It’s less of a typical “throw” and more of a controlled “push” through the release point. You’re not trying to rip the ball. You’re guiding it with a firm wrist and fingers. This guides the ball’s path. It helps ensure that the downward movement is consistent.
Maintaining Wrist Strength
Keeping your wrist firm through the release is vital. A floppy wrist will lead to the ball sailing. It can also result in a pitch that lacks the sharp break you’re looking for. Research has shown that wrist strength plays a significant role in pitch control and movement (American Journal of Sports Medicine).
Common Mistakes and How to Avoid Them
Even with the right knowledge, it’s easy to fall into some common pitfalls. Being aware of these can save you a lot of frustration. Let’s look at a few we’ve observed.
Overtensing and Arm Strain
One of the biggest dangers is trying too hard. You might grip the ball too tightly. This can lead to arm discomfort or even injury. Remember, the grip does the work. Your arm should be moving naturally, just like a fastball. If you feel any sharp pain, stop immediately.
Losing Arm Speed
We touched on this, but it bears repeating. If your arm slows down, the pitch loses its effectiveness. Think about it: a slow pitch with some break is still hittable. A pitch that looks like a fastball but then drops is much harder to square up. Focus on staying relaxed and letting your natural athleticism take over.
Inconsistent Break
Sometimes your splitter will dive, and sometimes it will just flutter. This is often due to an inconsistent grip or release. Minor variations in finger pressure or the angle of your release can change the pitch’s trajectory. Consistency comes with practice.
Developing Your Splitter: Practice and Refinement
Like any skill, throwing a splitter takes time and dedication. You won’t master it overnight. But with smart practice, you can definitely improve.
Building Feel for the Pitch
Start by throwing the splitter at half or three-quarter speed. Focus on the grip and the feeling of the ball coming off your fingers. Get a sense of how the ball reacts. What does it feel like when it’s going to break sharply? What does it feel like when it’s not?
Gradually Increasing Velocity
Once you feel comfortable with the grip and release at lower speeds, begin to ramp up the velocity. Still, prioritize the movement over raw speed. A splitter that moves well is better than a slightly faster one that doesn’t break.
Long Toss and Bullpens
Incorporate the splitter into your regular long toss routine. This helps build arm strength and allows you to practice the feel. Then, use your bullpen sessions to simulate game conditions. Work on throwing the splitter in different counts. See how it feels against hitters.
Listen to Your Body
It’s important to be mindful of your arm. Splitters can put a little more stress on the elbow and wrist than a fastball. Always warm up properly. If you experience any persistent pain, consult with a medical professional or a certified athletic trainer (Cleveland Clinic).
Your Splitter Checklist: Key Takeaways
Here’s a quick rundown to keep in mind as you practice:
- Grip: Spread fingers wide on or near the seams.
- Arm Speed: Throw it just like your fastball.
- Release: Focus on a downward push, not a spin.
- Wrist: Keep it firm through the release.
- Practice: Start slow, build velocity, and be consistent.
- Listen: Pay attention to any arm discomfort.
Conclusion
You’ve learned that mastering the splitter comes down to a few key elements: the right grip, maintaining fastball arm speed, and a focused downward release. It’s a pitch that demands practice and a keen awareness of your arm’s health. Remember, consistency is built through repetition, so don’t get discouraged by initial inconsistencies. Start slow, focus on feel, and gradually increase velocity. Your next step is to get on the mound and apply what you’ve learned. Start building that nasty splitter into your pitching repertoire today!
Frequently Asked Questions
Does the splitter cause more arm strain than a fastball?
Yes, the splitter can put a bit more stress on your elbow and wrist due to the grip and release mechanics. It’s important to always warm up properly before throwing. If you feel any sharp or persistent pain, stop throwing and consult a medical professional.
What’s the biggest mistake pitchers make when throwing a splitter?
The most common error is slowing down your arm speed. The splitter’s effectiveness relies on deception, making it look like a fastball. If your arm speed drops, hitters will easily see the pitch coming and time it.
How can I tell if my splitter grip is correct?
You’ll know your grip is right if you feel you can control the ball without tensing up your arm too much. Your fingers should be spread wide, and you should feel pressure on the seams. Experiment to find what feels secure and allows for a good release.
Can I throw a splitter with a completely closed fist?
No, a splitter requires your fingers to be spread apart on the ball, typically index and middle fingers. A closed fist or a standard baseball grip won’t create the necessary spin reduction and downward movement that defines a splitter.
How long does it typically take to develop a reliable splitter?
Developing a consistent splitter takes time and dedicated practice. You might start seeing some results in a few weeks, but truly mastering it and making it a reliable pitch in games could take several months. Consistency comes with patient repetition.