How to Relace a Baseball Glove: Step-by-Step Guide
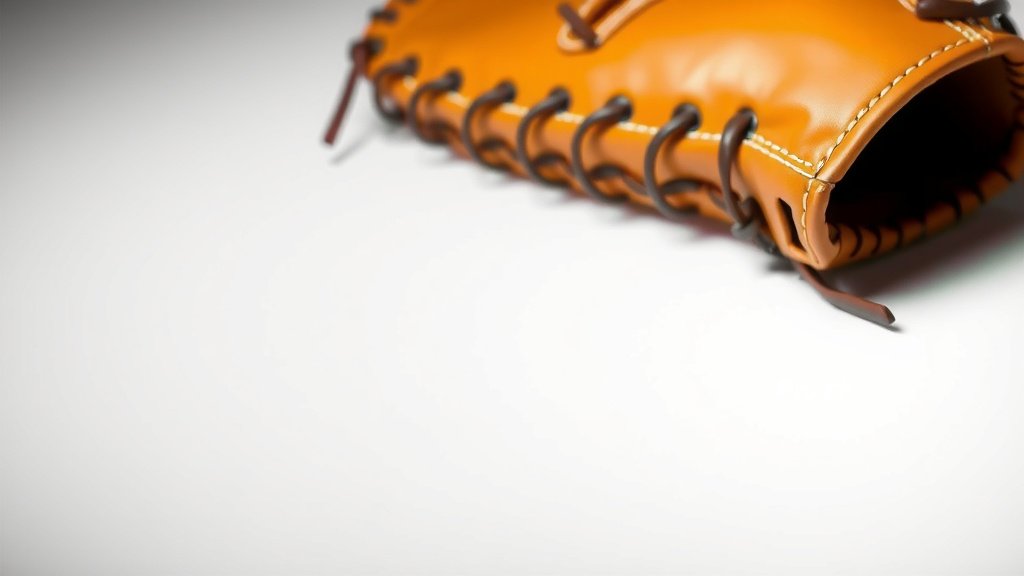
Relacing your baseball glove is a satisfying DIY project that can extend its lifespan. You can relace a glove at home with a few simple tools and some lace. It just takes a bit of patience to thread the new lace through the existing holes.
A properly relaced glove feels like new again. It’s a great way to save money compared to buying a brand new one. Plus, you can even customize the look with different colored laces. Many players find it’s a rewarding repair.
- Relacing can make an old glove feel new.
- It’s a budget-friendly repair option.
- You can choose custom lace colors.
- Patience is key to a successful relace.
- It’s a great way to extend your glove’s life.
Ready to give your glove some new life? Let’s walk through exactly how to relace it step by step.
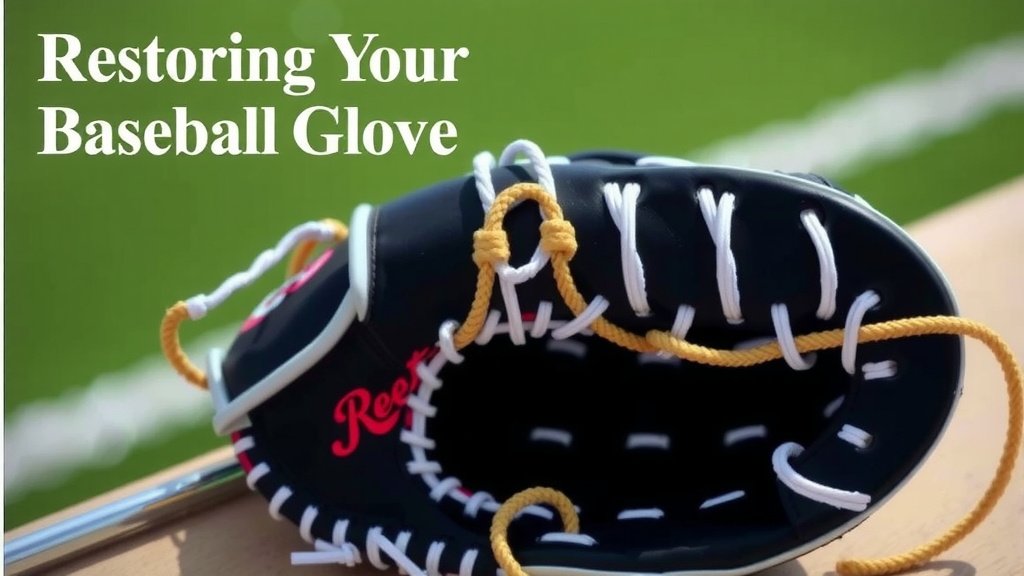
Restoring Your Baseball Glove: A Step-by-Step Guide
Ready to bring your beloved baseball glove back to life? Relacing it might seem daunting, but it’s a manageable DIY project. We’ll guide you through each step. You’ll soon have a glove that feels almost new again. It’s a fantastic way to save money and keep a glove you love.
Gathering Your Supplies: What You’ll Need
Before you start, make sure you have everything on hand. This prevents interruptions mid-project. You don’t want to be halfway through and realize you’re missing a key item. A little preparation goes a long way.
The Essential Tools and Materials
You won’t need a specialized toolbox for this. Most items are readily available. We’ve put together a short list to make it easy for you.
- New Glove Laces: Most gloves need about 54 inches of lace per section. A standard glove often requires 3-4 laces.
- Scissors or Utility Knife: For cutting the old laces.
- Lacing Tool or Awl: This helps push the new lace through the holes. A sturdy knitting needle can also work.
- Pliers: Useful for pulling old laces out or tightening new ones.
- Gloves (Optional but Recommended): To keep your hands clean.
Choosing Your New Laces
Lace material matters. Leather is the traditional choice for a reason. It’s durable and molds well with your glove. You can find pre-cut lacing kits online or at sporting goods stores. These often come with the correct length and width. Many players also like to customize their glove’s look. You can find laces in a variety of colors. Consider a color that matches your team’s uniform. Or maybe a bold color that makes your glove stand out. Whatever you choose, ensure it’s high-quality for longevity.
The Relacing Process: Taking It Apart
This is where the magic starts. You’ll be carefully removing the old laces. Take your time here. It’s like unwrapping a present. You want to be gentle.
Mapping Out Your Glove’s Lacing Pattern
Before you cut any laces, take a good look. How are the current laces threaded? Many gloves have a standard pattern. But some might be laced differently. You can take pictures as you go. This will be your guide. Look closely at the palm, the webbing, and the finger stalls. Notice how the lace passes through each hole. This visual map is incredibly helpful. It ensures you put everything back together correctly.
Carefully Removing Old Laces
Start by snipping the old laces. Use your scissors or utility knife. Cut them where they are tied off, usually at the wrist strap. Then, work your way through the glove. Gently pull the laces out. You can use pliers if a section is stuck. Be patient. Don’t force it, as you could damage the leather. As you remove each lace, try to keep track of its path. This is where those photos you took come in handy. Some laces are longer than others. Identifying these helps when you start threading the new ones.
Installing New Laces: The Heart of the Project
Now for the fun part! You get to thread the new laces. This requires a steady hand and a bit of focus. Think of it as weaving a new pattern.
Preparing Your New Laces
If your new laces aren’t pre-cut, measure them. You generally need about 54 inches per lace. You might need more or less depending on your glove. Many experts recommend having extra length. You can always trim it later. For easier threading, you might want to stiffen the ends of your new laces. Some people use a bit of wax or a commercial lace stiffener. This helps prevent fraying. It also makes it easier to push the lace through the holes.
Threading the Laces: Step-by-Step
This is the most time-consuming part. We’ll break it down by section.
The Webbing: The Glove’s Pocket
Start with the webbing, as this is often the most visible part. Thread your lace from the inside out. Make sure it’s snug but not too tight. You want to create a good pocket. If you’re struggling, use your lacing tool or awl. It helps guide the lace. Go slowly and carefully through each hole. Aim for an even tension across the webbing. This will give you a consistent feel.
The Palm and Finger Stalls: Building Structure
Next, move to the palm area. Follow the path of the old laces. Thread the new lace through the designated holes. Again, maintain an even tension. You don’t want any loose spots. This is crucial for the glove’s feel and function. Work your way down each finger stall. Ensure the lace goes through the correct eyelets. You want the glove to feel secure on your hand. This part of the relacing process builds the glove’s structure.
The Wrist Strap: The Final Touches
The wrist strap is usually the last section to relace. This is often where the laces are tied off. Thread the lace through the final set of holes. You might need to adjust the tension here. This affects how snug the glove fits your wrist. Make sure it’s comfortable. You don’t want it to be too tight or too loose. A good fit is key for control.
Tightening and Securing the Laces
Once all the laces are threaded, it’s time to tighten. You’ll want to adjust the tension on each lace. They should be snug. This provides stability. But they shouldn’t be so tight that they pinch or distort the leather. We found that working section by section helps. Pull gently on each lace. Then, tie a secure knot. Most people use a simple double knot. Ensure the knot is tucked away. You don’t want it to get in the way. For an extra secure tie, you can use a dab of leather glue on the knot. This is optional but can prevent loosening.
Breaking in Your Newly Relaced Glove
Your glove is now relaced! But it’s not quite ready for game day. It needs a little break-in time. This helps the new laces settle. It also allows the leather to conform to your hand.
Glove Conditioning and Manipulation
Apply a small amount of glove conditioner. Rub it into the leather. Pay attention to the new laces. This keeps the leather supple. Then, work the glove. Open and close it repeatedly. You can also use a glove mallet. Or, tuck a ball into the pocket. Secure it with a rubber band or glove strap. Leave it overnight. This helps mold the pocket. Many players also suggest using a bit of shaving cream. It’s an old trick that many swear by for softening leather. However, research suggests using products specifically designed for leather gloves. These often contain beneficial oils (Sports Illustrated).
Practice Makes Perfect
The best way to break in your glove is to use it. Take it to practice. Field ground balls. Catch fly balls. The more you use it, the better it will feel. You’ll notice the pocket developing. The laces will adjust. Your glove will start to feel like an extension of your hand again. This process can take a few days to a couple of weeks. Be patient. The effort is worth it.
Here’s a quick checklist to ensure you’ve covered all your bases:
- Gathered all necessary tools and new laces.
- Photographed the original lacing pattern for reference.
- Carefully removed all old laces without damaging the glove.
- Threaded new laces evenly, maintaining consistent tension.
- Secured all knots properly to prevent loosening.
- Applied conditioner and started the break-in process.
Conclusion
You’ve successfully navigated the satisfying process of relacing your baseball glove! Remember, this DIY project not only saves you money but also breathes new life into a familiar piece of equipment. By taking your time, following the steps carefully, and giving it a good break-in, your glove will feel renewed and ready for action. This is your chance to extend your glove’s lifespan and even add a personal touch. Now, go get out there and enjoy playing catch with your revitalized glove!
Frequently Asked Questions
How often should I relace my baseball glove?
You don’t need to relace your glove on a strict schedule. Watch for signs of wear, like frayed or broken laces, or when the glove starts to feel loose and less responsive. For most players, relacing every few years is usually sufficient.
Can I relace just one section of my glove?
Yes, you can! If only one part of your glove, like the webbing or a finger stall, has worn-out laces, you can often replace just those specific laces. However, relacing the entire glove generally leads to a more uniform feel and better overall performance.
What’s the best way to make sure my new laces are tight enough?
Aim for snug, not strained. As you thread each lace, pull firmly to remove slack. You can use pliers gently if needed. Once threaded, adjust the tension so the glove feels secure but doesn’t pinch your hand. Test it by opening and closing the glove.
Will relacing my glove change how it feels?
Absolutely! New laces can make a glove feel stiffer at first. This is normal. Proper break-in techniques, like conditioning and regular use, will help soften the leather and allow the new laces to mold to your hand. Your glove should eventually feel responsive and comfortable.
Where can I buy replacement baseball glove laces?
You can find replacement laces at most sporting goods stores, often in the baseball or softball section. Many online retailers also carry a wide variety of colors and materials. Look for durable leather laces, or consider synthetic options for a different feel.