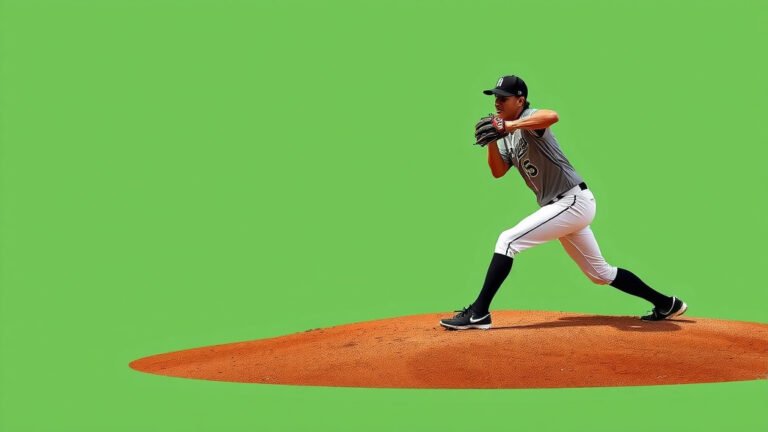

Master the Curveball: A Step-by-Step Guide
Learning to throw a curveball involves a specific grip and a **snap of the wrist** that makes the ball break. You’ll need to grip the ball along the seams. Then, focus on a **sharp, downward flick** of your wrist as you release the ball. This simple combination is key to achieving that classic curve.
Many pitchers find that the curveball is one of the most effective off-speed pitches. It fools hitters with its **dramatic break**. Mastering this pitch takes practice, but the payoff in game performance is well worth the effort. We’ll guide you through the steps to get you throwing strikes with movement.
- Grip the ball correctly on the seams.
- Practice a sharp, downward wrist snap.
- Focus on a consistent release point.
- Be patient; it takes practice to master.
Ready to add some serious movement to your pitching arsenal? Let’s break down exactly how to throw a curveball step by step.
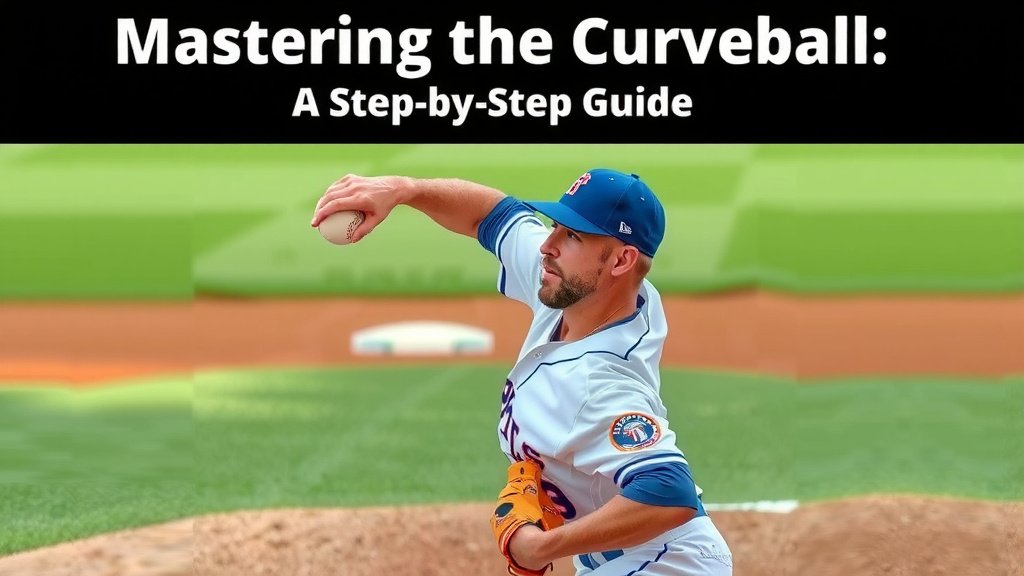
Mastering the Curveball: A Pitcher’s Guide
So, you’re ready to add a curveball to your pitching repertoire? That’s fantastic! This pitch can be a real game-changer, making hitters swing at air. We’re going to walk you through the grip, the motion, and some tips to get you throwing that nasty break.
The Anatomy of a Curveball Grip
Getting the grip right is the first, and arguably most important, step. It dictates how you’ll impart that spin. The goal is to create a topspin or sidespin that causes the ball to curve.
Finding the Sweet Spot on the Seams
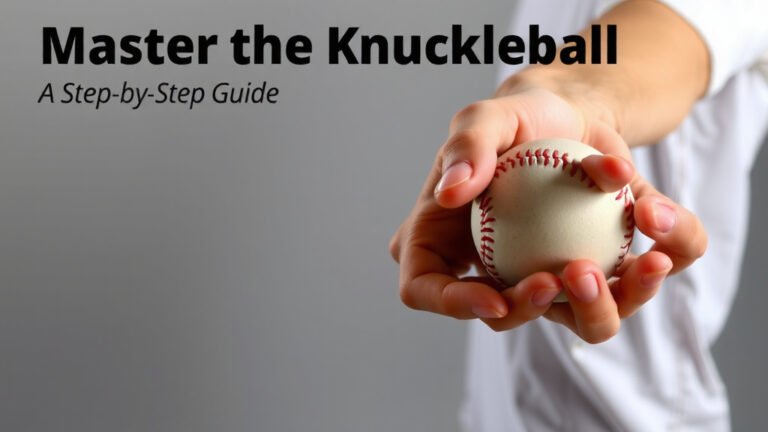
You won’t be gripping this ball like your fastball. For a curveball, you’re looking for the horseshoe shape of the seams. Think of where the seams curve inward, forming that “U” or “C” shape. This is where your fingers will do their magic.
The Middle Finger’s Role
Your middle finger will be the primary driver of the spin. Place the pad of your middle finger firmly on one side of the seam. This finger will apply the pressure and create the spin when you flick your wrist.
The Index Finger’s Support
Your index finger rests alongside your middle finger. It doesn’t apply as much pressure. It’s there for support and to help guide the ball. Some pitchers keep it slightly off the ball, while others tuck it close to the middle finger. Experiment to see what feels most comfortable and provides the best control.
The Thumb’s Position
Your thumb should be placed on the underside of the ball. It typically rests on the opposite seam or anywhere that feels natural and stable. The thumb helps keep the ball secure in your hand without interfering with the spin. You want it out of the way of the primary motion.
Common Curveball Grips to Consider
While the basic principle is consistent, there are a few variations pitchers use. We found that a popular grip involves placing the middle finger directly on the seam and the index finger alongside it.
- “12-6” Grip: Imagine the seams like the numbers on a clock face. With this grip, your middle finger is on the “12” seam, and your index finger is near it. This grip is often taught for a ball that breaks sharply downward.
- “3-9” Grip: Similar to the above, but your fingers are aligned with the “3” and “9” on the clock. This tends to produce more of a sideways break.
It’s a good idea to try both of these. See which one allows you to get the cleanest spin. You’re looking for that satisfying *snap* without feeling like you’re forcing it.
The Throwing Motion: It’s All in the Wrist
This is where the magic happens. The curveball isn’t about throwing harder; it’s about throwing smarter. The spin is what creates the break.
The Arm Slot and Release Point
Many experts say that maintaining a consistent arm slot is vital for all your pitches, including the curveball. You don’t want to “tip” the hitter off that you’re throwing a curve. The release point should feel very similar to your fastball. This deception is key to making the pitch effective.
Think of your arm action like a slinky extending. The arm speed should be there, but the *grip* and *wrist action* do the work. Trying to overthrow the ball will likely result in a limp curveball that doesn’t break much.
The Downward Wrist Snap
This is the core mechanic. As you release the ball, you want to snap your wrist downward. Imagine you’re trying to flick a switch or turn off a light. The motion should be sharp and decisive. This flick imparts the topspin or sidespin needed for the curve.
Many young pitchers make the mistake of “handcuffing” the ball. This means they grip it too tightly or try to muscle it. The wrist snap should feel natural, not forced. Research shows that this flicking motion creates the Magnus effect, which causes the ball to curve (NCBI).
The Follow-Through
Don’t forget your follow-through! Just like with any pitch, a good follow-through helps with control and prevents injury. Your arm should continue its natural motion across your body. A complete follow-through helps ensure you’re not cutting your arm slot short or putting unnecessary strain on your elbow.
Practice Makes Perfect: Drills and Tips
You won’t throw a perfect curveball on your first try. It takes dedication and repetition. We’ve gathered some tips to help you refine your curveball.
Starting Close to Home Plate
Begin by throwing curveballs from a shorter distance. Try it from 30 or 40 feet away. This allows you to focus purely on the grip and the wrist snap without worrying about velocity or throwing too hard. You can really concentrate on getting that spin right.
Using a Target
Once you’re comfortable with the grip and motion, start using a target. A catcher’s mitt is ideal, but even a specific spot on a backstop can work. Focus on making the ball break into the target. This builds both your control and your confidence.
Varying Your Pitches
As you improve, practice mixing your curveball with your fastball. Try throwing a fastball and then immediately following it with a curveball. This helps you get a feel for the different grips and release points. It also simulates game conditions.
Listening to Your Arm
It’s really important to listen to your body. If you feel any sharp pain, stop throwing. Curveballs can put more stress on your arm than fastballs if not thrown correctly. Many coaches recommend limiting the number of curveballs thrown, especially at younger ages, due to the potential for arm strain (American Academy of Orthopaedic Surgeons).
Curveball Checklist for Success
Here’s a quick rundown to keep in mind:
- Grip: Find the seams and place your middle finger on them.
- Wrist Snap: Focus on a sharp, downward flick at release.
- Arm Slot: Keep it consistent with your fastball.
- Follow-Through: Complete your motion naturally.
- Practice: Repetition is your best friend.
- Listen: Don’t push through arm pain.
Conclusion
You’re now equipped with the knowledge to throw a curveball. Remember, it’s all about the right grip on the seams and a sharp, downward wrist snap. Consistent practice and a focus on your release point will build this effective pitch into your arsenal. Don’t rush the process; patience is key to mastering the movement. Keep working on it, and you’ll soon see those hitters swinging at air. Now, get out there and practice that curve!
Frequently Asked Questions
Can throwing a curveball hurt my arm?
Curveballs can put more stress on your arm if not thrown correctly. Coaches often suggest limiting their use, especially for younger players, to prevent potential arm strain. Always listen to your body and stop if you feel any sharp pain.
How do I know if I’m gripping the ball correctly for a curveball?
You should feel the seams, particularly the horseshoe shape, with your middle finger. Your middle finger will apply the pressure for spin, while your index finger offers support. The thumb should be out of the way and stable.
What’s the difference between a “12-6” and a “3-9” curveball grip?
The “12-6” grip aims for a sharp downward break, like the numbers on a clock. The “3-9” grip is positioned more for a sideways break. Trying both will help you find which one feels best for you.
Should I throw a curveball as hard as my fastball?
No, the curveball’s effectiveness comes from its spin and break, not raw velocity. Overthrowing can actually make the curveball less effective. Focus on the wrist snap and spin rather than velocity.
How long does it take to learn a good curveball?
Mastering a curveball takes time and consistent practice. Don’t get discouraged if it doesn’t happen overnight. Regularly working on your grip, wrist snap, and release point will gradually improve your pitch.