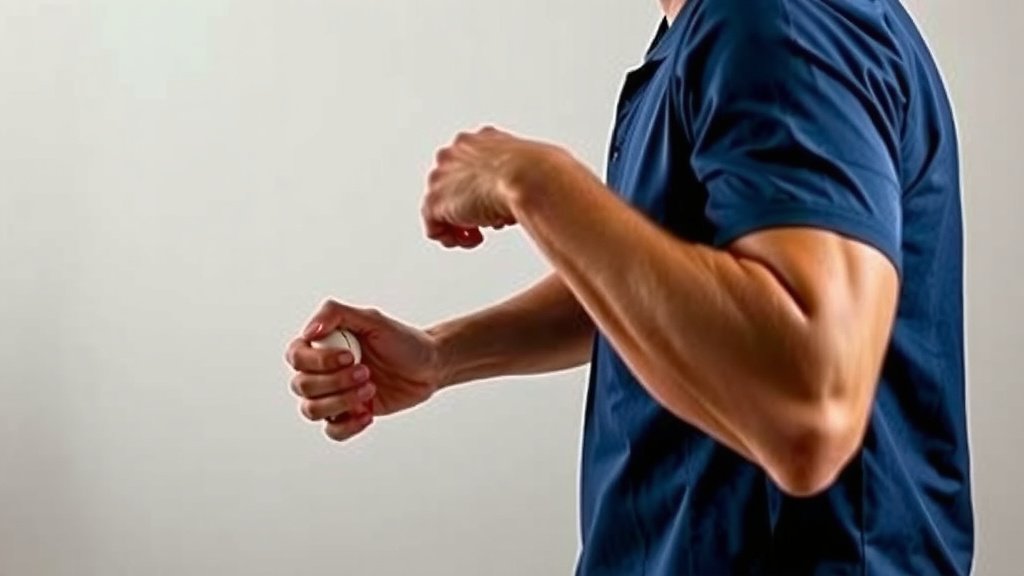
How to Warm Up Your Arm Before Throwing: A Simple Routine
The easiest way to warm up your arm before throwing is to start with light cardio, then do arm circles and dynamic stretches, and finish with easy, short-distance tosses before building up speed. That sequence gets blood flowing and preps your shoulder and elbow for real throws. Skip it, and you’re rolling the dice on your arm.
Whether you’re a baseball player, softball slugger, or quarterback, your arm takes a beating every time you throw. We dug into what trainers and coaches recommend and found that a proper throwing warm-up can help lower your risk of shoulder and elbow strains. Many experts say rushing straight into full-speed throws is one of the most common mistakes players make. So how long should you warm up, and what actually works? Let’s get into it.
TL;DR — Quick takeaways:
- Start with 5-10 minutes of light cardio to get your blood moving.
- Do dynamic stretches like arm circles and wrist rolls — no cold stretching.
- Begin throwing at short distance with easy tosses, then gradually increase.
- Build up to game-speed throws over 10-15 minutes.
- Cool down after throwing to help your arm recover faster.
Below, we break down everything you need to know about warming up your arm the right way, step by step. Your shoulder will thank you.
Why Your Arm Deserves a Proper Warm-Up
Throwing is one of the most violent motions your body can perform in sports. Your shoulder rotates at high speed, and your elbow takes a huge amount of stress with every throw. That’s why skipping the warm-up is a gamble with your arm as the bet.
We found that researchers studying youth and high school baseball have linked overuse — including throwing hard without preparation — to shoulder and elbow injuries (NIH). Your arm isn’t a light switch. You can’t just flip it on and expect max effort. For a closer look at how hard players throw at each level, see our guide to pitching velocity.
Think of it like a cold rubber band. Pull it hard right out of the freezer, and it snaps. Warm it up first, and it stretches just fine. Same deal with your shoulder and elbow.
What Happens When You Skip the Warm-Up
Cold muscles are tight muscles. Tight muscles don’t absorb force well, so the stress goes straight into your joints and tendons instead. That’s where strains and soreness start.
Many physical therapists say a warm muscle contracts faster and handles load better (Cleveland Clinic). Blood flow brings oxygen and nutrients to the tissue. Without it, you’re asking your arm to sprint before it even puts its shoes on.
Step One: Get Your Blood Flowing First
Before you touch a ball, do 5-10 minutes of light cardio. A easy jog, jumping jacks, brisk walking, or even jumping rope all work. The goal is simple: raise your body temperature and get your heart pumping.
Many training guidelines list this as the first step of any warm-up routine (Mayo Clinic). When your core warms up, blood travels to your arms and shoulders. Now your throwing muscles are actually ready to work.
Feeling a light sweat? That’s your cue. You’re ready for the next step.
Dynamic Stretches That Actually Help Throwers
Forget the old-school static stretching where you hold a stretch for 30 seconds. Research we reviewed suggests dynamic stretching — moving while you stretch — is better before activity (NCBI). Save the long holds for after the game.
The Best Arm Circles for Throwers
Arm circles are the classic for a reason. Start with small circles, 10 forward and 10 backward. Then make them bigger. Keep your arms relaxed, not stiff.
Speed matters less than control here. If your shoulders burn a little, good. That means blood is arriving.
Don’t Forget Your Wrists, Elbows, and Torso
Your arm is a chain, and every link matters. Add these moves to your routine:
- Wrist rolls — 10 in each direction to loosen your forearms.
- Arm swings — cross your arms in front of your chest, then open wide. 10 reps.
- Torso twists — your legs and core power your throw, so wake them up too.
- Leg swings — front to back and side to side, 10 each leg.
Sounds like a lot? It takes about 5 minutes. That’s less time than scrolling your phone between innings.
Time to Throw: The Progressive Throwing Routine
Now comes the fun part. But don’t grab the ball and launch it to the back fence. Coaches we researched consistently recommend a gradual build-up, starting close and short.
Here’s a simple progression many throwing programs follow:
| Stage | Distance | Effort | Throws |
|---|---|---|---|
| 1 | 15-20 feet | Easy, 50% | 10-15 |
| 2 | 30-40 feet | Comfortable, 60% | 10-15 |
| 3 | 60 feet | Firm, 75% | 10-15 |
| 4 | Full distance | Game speed | As needed |
Move to the next stage only when your throws feel smooth and pain-free. If something feels off, back up a step. There’s no trophy for rushing.
How Long Should the Whole Warm-Up Take?
Add it all up and you’re looking at 15-25 minutes. Cardio gets 5-10, stretching gets 5, and throwing gets 10-15. Pitchers throwing hard may want a few extra minutes.
Yes, that feels long when you’re itching to play. But compare it to sitting out six weeks with a sore shoulder. Easy math.

Common Warm-Up Mistakes to Avoid
We found that most arm trouble comes from a handful of repeat offenders. Watch out for these:
- Static stretching on cold muscles — hold stretches after, not before.
- Going full speed too early — your first throw shouldn’t be your max throw.
- Skipping cardio — cold muscles are tight muscles.
- Only warming the arm — your legs and core drive the throw too.
- Rushing because you’re late — show up 20 minutes early instead.
Sound familiar? Almost everyone has made at least one of these mistakes. No shame — just fix it going forward.
Cool Down After You Throw
The warm-up gets the glory, but the cool-down matters just as much. After your game or practice, do the reverse: light jogging, easy stretching, and gentle range-of-motion moves for your shoulder.
Many trainers also suggest light static stretching now — holding shoulder and forearm stretches for 20-30 seconds (Cleveland Clinic). This helps your muscles relax and may ease next-day soreness.
Some players like to ice after heavy throwing. If you do, keep it to about 15-20 minutes and never place ice directly on bare skin. Your future self will appreciate it.
Your Pre-Throw Warm-Up Checklist
Print this, screenshot it, or tape it to your gym bag. Here’s your quick checklist:
- 5-10 minutes of light cardio until you feel warm.
- Arm circles — small, then large, both directions.
- Dynamic moves for wrists, torso, and legs.
- Easy tosses from 15-20 feet to start.
- Step back gradually until you reach game distance.
- Full-effort throws only when everything feels loose and pain-free.
That’s it. Simple, repeatable, and it works. Your arm takes care of you every time you take the field — return the favor with a solid warm-up every single time.
Conclusion
Warming up your arm isn’t rocket science, but it does take discipline. You now know the recipe: light cardio first, dynamic stretches next, then a slow build from short tosses to game-speed throws. Roughly 15-25 minutes is all it costs you. In return, you get an arm that feels loose, responds faster, and holds up over a long season. We’ve seen too many players lose weeks to soreness that a simple routine could have helped prevent. So here’s your next step: run through the full warm-up at your next practice, not just when it’s convenient. Make it a habit, and your arm will repay you every time you take the mound or field.
Frequently Asked Questions
Should I stretch before or after throwing?
Do dynamic, moving stretches before you throw and save static holds for afterward. Cold, static stretching before activity doesn’t prepare your muscles for explosive movements. After throwing, your muscles are warm and respond better to longer holds.
Can I warm up my arm without a partner to throw with?
Absolutely. Solo arm circles, wrist rolls, band work, and light cardio all prep your arm without a catch partner. If you have a wall, you can even do easy tosses against it at short range. Just follow the same slow build once a partner shows up.
Is it bad if my arm feels sore during warm-up throws?
Mild stiffness that loosens up as you go is usually normal. But sharp pain, or soreness that gets worse with each throw, is a warning sign. Stop throwing, rest, and if it sticks around for more than a few days, get it checked by a professional.
Do pitchers need a longer warm-up than position players?
Generally, yes. Pitchers throw harder and more often, so many add extra throwing time and band work before taking the mound. Position players can usually get fully ready in the standard 15-25 minutes. Listen to your arm and adjust from there. If you’re new to the position, our guide to pitching basics covers arm care and conditioning in more depth.
What’s the best warm-up for cold weather games?
In colder temps, extend your cardio a few extra minutes and layer up until your body is warm. Muscles tighten faster in the cold, so keep moving between innings and re-warm with easy tosses before returning to game speed. Never cut the routine short just because it’s chilly.