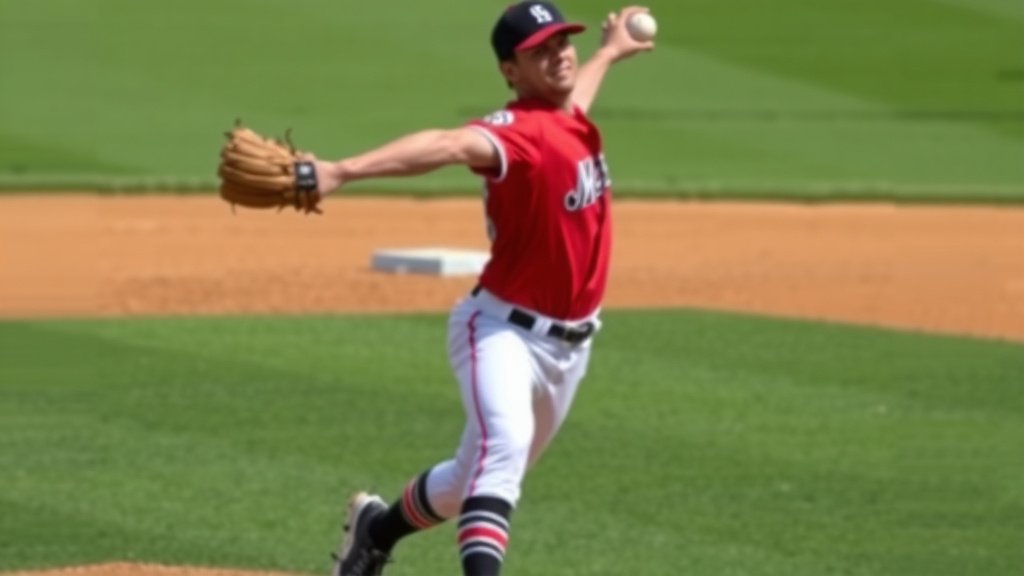
How to Develop Arm Strength for Pitching: 7 Proven Drills
The best way to develop arm strength for pitching is to combine targeted throwing programs with strengthening exercises for your shoulder, forearm, and core — all built up gradually over weeks, not days. Your arm gets stronger through steady, repeated work, not one heroic long-toss session that leaves you icing your shoulder for a week.
Here’s the thing most players miss: pitching power starts well beyond your arm. Many experts say leg drive and core strength play a huge role in velocity, while proper throwing mechanics protect your arm from unnecessary stress. We researched what coaches and trainers recommend most, and the answers line up in a few clear areas — conditioning, rest, and smart practice habits.
- Build arm strength with progressive long toss and weighted ball drills (used safely).
- Strengthen your shoulders, forearms, and core with band work and light weights.
- Use your legs — they’re the real engine behind throwing power.
- Rest your arm between outings. Recovery is part of training, not a break from it.
- Master clean mechanics before chasing extra speed.
Sound like a lot? Don’t worry — we’ve sorted it into simple steps you can start today. Below, we break down everything you need to know about building pitching arm strength the safe and effective way.
Building a Stronger Pitching Arm Step by Step
Arm strength grows through a steady cycle: throw, strengthen, rest, repeat. Start with light throwing at short distances, then stretch out your long toss a little each week. Push too hard too soon, and you’ll trade progress for a sore elbow.
Think of your arm like a bank account. Every smart workout is a deposit. Every “one more throw” past the point of tired legs and a loose shoulder is a withdrawal. We found that players who plan their weeks — instead of winging it — tend to stick with training longer and stay healthier.
Start With a Simple Throwing Program
Your first goal isn’t velocity. It’s showing up four or five days a week without pain. Here’s a basic weekly shape many coaches recommend:
- Day 1: Light catch at 60 feet, about 10 to 15 minutes.
- Day 2: Long toss, stretching out 20 to 30 feet farther than last week.
- Day 3: Bullpen work or game, at full effort.
- Day 4: Rest. No throwing at all.
- Day 5: Band work and short, easy throwing.
Notice the built-in rest day? That’s not laziness. That’s where the strength actually gets built.
Long Toss Done Right
Long toss gets a bad rap when it’s done wild. The point isn’t launching balls over fences — it’s keeping your mechanics clean as distance grows. Once your throws start lofting, pull in a few steps and hold your form.
We found that most throwing programs suggest building distance gradually, then pulling back in before finishing at game-intensity throwing. If your arm feels heavy or achy the next morning, you went too far. Scale back. Your future self says thanks.
Weighted Balls: Helpful or Hype?
Weighted ball drills can help, but only under supervision and with a plan. Many experts urge caution here, since heavy weighted balls add stress on the elbow and shoulder when overused. If you try them, keep them light in both weight and volume — and never as a young pitcher without a coach watching.
Truthfully? A well-run long toss program plus band work covers most of what weighted balls promise. Don’t chase shortcuts.
Exercises That Actually Build Pitching Strength
Your arm is only as strong as the parts around it. Shoulder stability, grip strength, and core control carry more pitching velocity than big biceps ever will. Research on throwing athletes published through the NIH keeps pointing to the same thing: the rotator cuff and scapular muscles matter most.
Band Work: Your New Best Friend
Resistance bands are cheap, portable, and honestly kind of boring — which is exactly why they work. Do them before throwing to wake the shoulder up, or after to build endurance. A simple set:
- External rotations — 2 sets of 12 to 15 per arm.
- Internal rotations — 2 sets of 12 to 15 per arm.
- Band pull-aparts — 2 sets of 15 for your upper back.
- Scapular retractions — squeeze shoulder blades, hold two seconds, repeat.
Keep the tension light. If you’re grunting through band work, the band is too strong. This is endurance training, not a strongman contest.
Forearm, Wrist, and Grip Work
Ever wonder why some pitchers’ arms just look sturdy? A lot of it lives in the forearm. Wrist curls, reverse wrist curls, and squeezing a stress ball while you watch TV all build the small muscles that protect your elbow during repeated throwing.
Your Core Is the Real Power Source
Pitching is a chain reaction. Force starts in your legs, transfers through your core, and finally exits through your arm. If the middle of that chain is mush, your arm picks up the slack — and pays for it.
Planks, side planks, dead bugs, and medicine ball rotational throws all build that middle link. Research summarized by the Cleveland Clinic supports core training for athletes in rotational sports. Aim for core work two or three times a week.
A Quick Sample Strength Day
Here’s a 25-minute circuit you can run twice a week:
- Plank — 3 rounds of 30 seconds.
- Side plank — 2 rounds of 20 seconds per side.
- Push-ups — 3 sets of 8 to 12.
- Band external rotations — 2 sets of 15.
- Medicine ball rotational throws — 2 sets of 8 per side.
Don’t Skip Leg Day (Seriously)
Want more velocity? Look down. Your legs generate most of the power in a pitch. Squats, lunges, and single-leg work build the base your delivery stands on. We found that trainers consistently rank lower-body strength near the top for throwing athletes.
You don’t need a fancy gym. Bodyweight squats, step-ups, and split squats will do plenty for a young pitcher.
Recovery: Where Strength Is Actually Built
Here’s a secret nobody posts on highlight reels: rest days build muscle. When you throw, you create tiny bits of stress in tissue. Rest is when your body repairs and comes back stronger. Skip the rest, and you just keep breaking down.
The CDC’s guidance on youth sports injury prevention stresses pitch counts and required rest days between outings. Follow your league’s rules, and when in doubt, take the extra day off.
Simple Recovery Checklist
- Ice only if you’re sore or swollen — not automatically every outing.
- Sleep 8 to 9 hours. Recovery runs on sleep.
- Hydrate before, during, and after you throw.
- Do light band work the day after pitching, not a full workout.
- Log your pitch counts so you can spot trouble early.
- Tell a coach or parent right away if anything hurts.
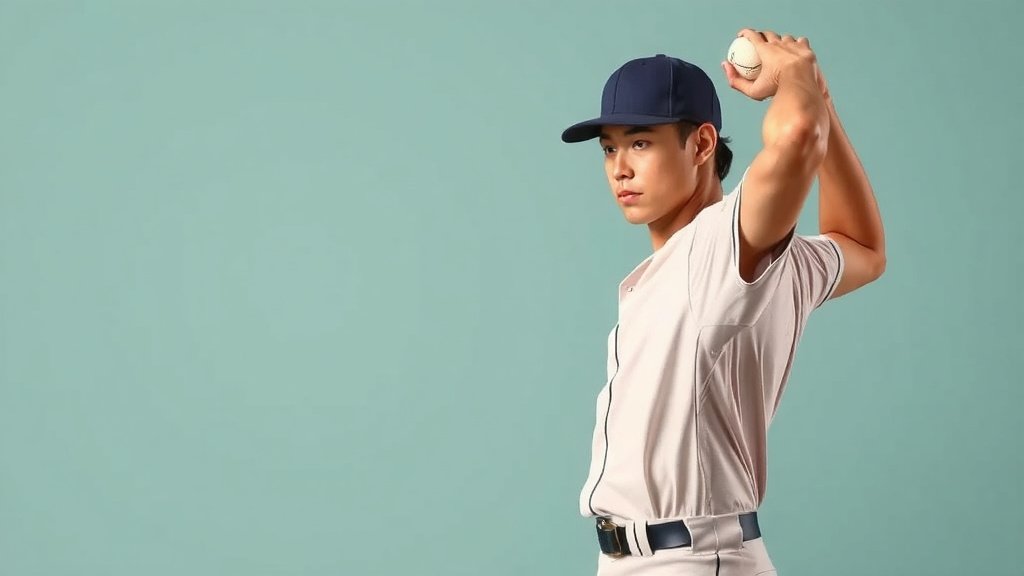
Mechanics First, Velocity Second
Chasing speed with sloppy mechanics is like flooring a car with square wheels. You’ll go fast for a moment, then something breaks. Clean mechanics spread the workload across your whole body instead of dumping it all on your elbow and shoulder.
Film yourself throwing from the side. Compare it to college or pro pitchers your body type. Small fixes — like staying closed longer or finishing balanced — often add velocity without adding strain.
Putting It All Together: Your Weekly Plan
Here’s how the pieces fit in a normal week:
| Day | Focus | Time |
|---|---|---|
| Monday | Long toss plus band work | 45 minutes |
| Tuesday | Strength day (core, legs, bands) | 30 minutes |
| Wednesday | Bullpen or light throwing | 30 minutes |
| Thursday | Full rest, no throwing | — |
| Friday | Easy catch and mechanics work | 30 minutes |
| Saturday | Game or full-effort bullpen | Varies |
| Sunday | Rest and light stretching | — |
Adjust for games and school. The exact days matter less than the pattern: throw, strengthen, rest, repeat. Miss a day? No panic. Just slide everything over and keep going.
Mistakes That Keep Pitchers Weak (or Hurt)
Avoid these common traps and you’ll outpace most of your competition without ever throwing a single “hero” bullpen:
- Throwing through pain. Soreness that lingers more than a day is a warning, not a badge.
- Skipping band work because it feels too easy. Easy is the point.
- Adding everything at once. Change one thing per week so you know what’s working.
- Ignoring your legs and core while obsessing over arm drills.
- Comparing yourself to the kid who throws 90. Everyone develops on their own clock.
One last thought: patience wins here. Arm strength isn’t built in a weekend any more than a tree grows in a day. Show up, follow the plan, and by mid-season you’ll feel the difference every time the ball leaves your hand.
Conclusion
Developing arm strength for pitching comes down to patience and a smart routine. Throw with purpose, keep your distance and effort climbing slowly, and pair that work with band exercises, core training, and leg strength. Just as important? Rest days, good sleep, and honest attention to what your body tells you. Skip the shortcuts — weighted balls and hero bullpens rarely end well. We found that pitchers who follow a steady weekly plan, like the one above, see real gains by mid-season. Your next step is simple: grab a calendar, pencil in your throwing days and rest days, and start this week. Your arm will thank you by playoff time.
Frequently Asked Questions
How long does it take to build arm strength for pitching?
Most pitchers notice a real difference in 8 to 12 weeks of consistent training. We found that gains come faster for beginners and slower for experienced throwers. Stay patient and track your progress weekly so you can see improvement even when it feels slow.
Can I throw every day to build arm strength faster?
No — daily hard throwing usually backfires. Your arm needs rest days to repair and rebuild stronger tissue. We found that most training plans limit full-effort throwing to two or three days per week, with easy tossing or band work in between.
What age should pitchers start arm strength training?
Light band work and general bodyweight exercise can start around age 10 or 11 with supervision. Heavy weighted balls and intense strength training should wait until the teenage years. A coach or trainer can help you match the workload to your player’s age and body.
Should I ice my arm after every pitching outing?
Not automatically anymore. Research on recovery suggests icing is best saved for days when you’re actually sore or swollen. If your arm feels normal, light movement, hydration, and sleep do more for recovery than a bag of peas ever will.
Can I build arm strength without a team or coach?
Absolutely. Long toss with a partner, resistance bands, planks, squats, and push-ups require almost no equipment or supervision. Film yourself pitching on a phone to check mechanics, and if anything ever hurts, get it checked out before pushing forward.