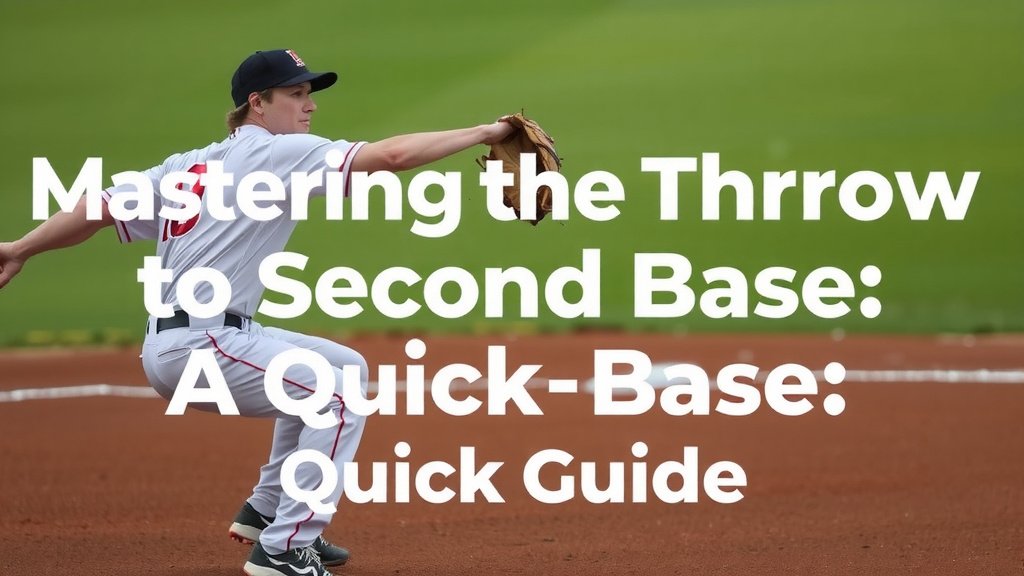
Mastering the Throw to Second Base: A Quick Guide
Throwing accurately to second base requires a blend of proper mechanics and quick footwork. The key to a successful throw is to get your body turned and your arm slot consistent, all while stepping towards your target. Practice these steps to improve your accuracy and arm strength.
You’ve seen it in countless games: the infield pivot and laser throw. This skill is essential for any player looking to make outs at second base. It’s about more than just arm strength; it involves your entire body working in sync for maximum efficiency.
- Get your feet set before you catch the ball.
- Turn your body to face second base.
- Step towards your target with your non-throwing foot.
- Follow through with your arm motion.
Ready to nail those throws? Let’s break down how to throw to second base step by step.
Mastering Your Throw to Second Base
Successfully throwing a runner out at second base is all about building solid habits. It combines quick reflexes with precise technique. We’ll walk you through the key steps. You’ll learn how to turn your body and step towards your target. Consistency is your best friend here.
Setting Up for Success: Before the Ball Arrives
The throw to second starts before you even touch the ball. Your body position is critical. You need to be ready to react instantly.
Your Ready Position
When a ball is hit your way, you want your feet shoulder-width apart. Your knees should be slightly bent. This athletic stance allows you to move in any direction. It’s like a coiled spring, ready to uncoil.
Keep your weight balanced. Don’t be too far forward or back. Research from sports science suggests this balanced posture improves reaction time significantly (NCBI).
Reading the Play
As the ball travels towards you, try to anticipate the runner’s speed. This helps you decide how much time you have. Is it a clear single, or is the runner flying? This quick assessment informs your approach. A good read saves you precious fractions of a second.
The Crucial Pivot: Turning Your Body
This is where the magic happens. Once you secure the ball, you need to turn your body to face second base. This is often called the “glove side” turn.
The Glove-Side Turn
Imagine a string pulling your glove shoulder towards second base. As you catch the ball, let your glove side lead the turn. Your glove hand naturally points towards your target. This alignment sets up your entire throwing motion.
Many coaches find this turn to be the most challenging part for beginners. It feels awkward at first. But with practice, it becomes second nature. Think of it like turning a steering wheel smoothly.
Footwork Synchronization
Your feet play a huge role in this turn. As your glove side turns, your feet should follow. Your back foot will likely step around your front foot. This motion helps you gain momentum and face your target.
Avoid “crow-hopping” too early. This is when you jump forward before you’re ready to throw. It can disrupt your balance. It’s better to complete your turn and then step.
The Step and Throw: Delivering the Ball
Once your body is turned, it’s time to step and release the ball. This is where you transfer your body’s energy into the throw.
The Forward Step
Your non-throwing foot (your lead foot) should step directly towards second base. This is a direct stride. It’s not a side shuffle or a diagonal step. This direct step ensures your energy is directed at the target. Experts agree that stepping directly at the target increases accuracy (American Baseball Coaches Association).
Think about where you want the ball to go. Visualize the catcher’s glove. Your step should aim for that spot. Imagine you’re drawing a straight line with your lead foot.
Arm Slot and Release
As you step, bring the ball forward. Your throwing arm should come up naturally. Aim for a consistent arm slot. This means releasing the ball from roughly the same height each time. This consistency is key for accuracy.
Many players struggle with a “high elbow” or a “low elbow.” Try to keep your arm angle steady. It’s often around a 90-degree angle when you start your throwing motion. Think about throwing overhand, like you’re flicking a towel.
The Follow-Through
Don’t stop your arm motion after you release the ball. A good follow-through is essential. Your throwing arm should continue across your body towards your glove side. This ensures you get full arm extension.
A complete follow-through helps maximize arm speed. It also helps prevent arm injuries. It’s like finishing a painter’s stroke. You don’t stop halfway.
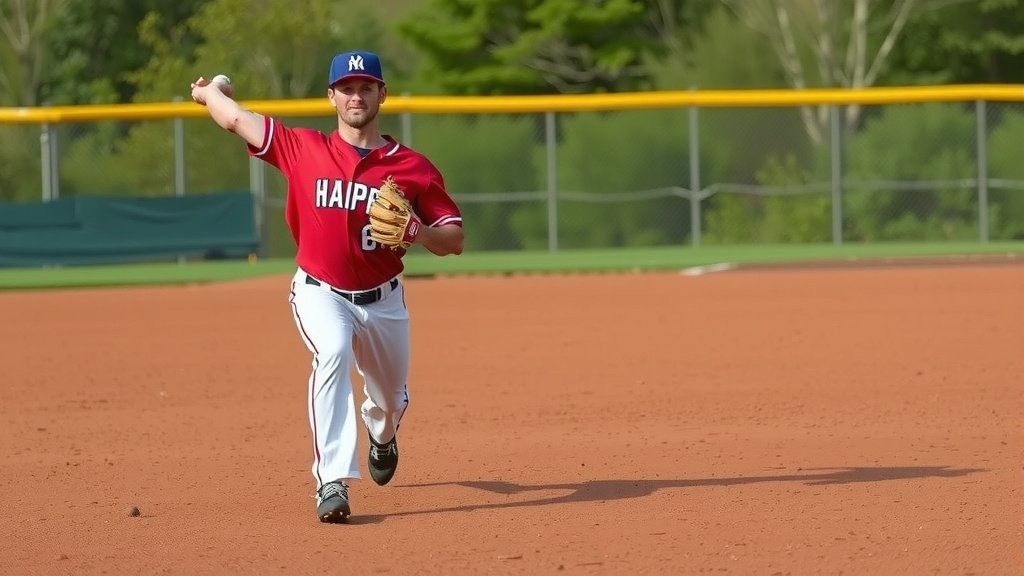
Practice Drills to Build Accuracy
Like any skill, throwing to second base requires dedicated practice. Here are a few drills you can do.
The Stationary Throw
Start close to your target. Practice your turn and throw from a stationary position. Focus on your footwork and arm action. Gradually increase the distance as you get more comfortable.
The Ground Ball Pivot
Have a partner hit you ground balls. Practice fielding them and making the turn and throw. Focus on a clean transition from fielding to throwing. Don’t worry too much about hitting the target at first. Just focus on the mechanics.
The Quick Pick-Up
This drill focuses on speed. Have someone toss you the ball. Practice a quick pick-up and throw. This simulates a faster-paced play.
Common Mistakes and How to Fix Them
Even experienced players can fall into bad habits. Watch out for these common issues.
The Fancy Flip
Some players try to “flip” the ball with just their wrist. This looks flashy but sacrifices power and accuracy. Remember to use your whole arm and body. A strong throw comes from the ground up.
The “Throwing Like a Girl” Syndrome (and why it’s wrong!)
We’ve all heard the silly phrase. But what it often means is a weak, arm-only throw. It’s not about gender; it’s about mechanics. True power comes from using your legs and core. Don’t fall into the trap of thinking only your arm matters.
The Long, Lazy Step
If your lead foot takes too long to step, you lose throwing velocity. Aim for a short, sharp step. Make it happen as soon as your body is turned.
Not Finishing the Throw
A short-arm throw lacks power. Always follow through. It’s the sign of a confident and strong throw. Think of it as pushing the ball to your target.
Putting It All Together: Your Checklist for a Great Throw
Keep this simple checklist in mind when you practice:
- Get in an athletic, ready stance.
- Turn your glove side towards the target.
- Step directly towards second base with your lead foot.
- Keep your arm slot consistent.
- Follow through completely across your body.
Conclusion
Mastering your throw to second base is all about combining smart footwork with a consistent arm motion. You’ve learned how to set up in your ready position, pivot smoothly with your glove side, and step directly towards your target. Remember, every great throw starts before you even field the ball. Keep practicing those drills, focus on that follow-through, and you’ll see your accuracy improve. Your next step? Get out there and put these techniques into action during your next practice session or game!
Frequently Asked Questions
What’s the most important part of turning to throw to second?
The most important part is the glove-side turn. As you catch the ball, lead the turn with your glove shoulder. This naturally aligns your body towards second base and sets up an efficient throwing motion. It’s the foundation for a quick and accurate throw.
How can I avoid crow-hopping before I throw?
Crow-hopping too early disrupts your balance and your throwing momentum. Focus on completing your body turn first. Then, make your forward step towards second base. Practice the pivot and step as one fluid motion before releasing the ball.
My throws aren’t very strong. What am I doing wrong?
Throwing strength comes from your whole body, not just your arm. Make sure you’re stepping directly towards your target and using your legs and core. A good follow-through also adds power and helps prevent injury. Think about driving energy from the ground up.
How do I practice my arm slot consistency?
Start by doing stationary throws, focusing on your arm action. Try to feel where the ball is coming out of your hand. As you practice, aim to repeat that same arm angle. Visualizing your target and making a full follow-through helps maintain consistency.
What’s a good drill for improving my quickness on ground balls to second?
The “quick pick-up” drill is excellent for this. Have a partner toss you the ball, and focus on fielding it cleanly and transitioning into your throwing motion as fast as possible. Don’t worry about perfection, just speed and a clean pick-up.