How to Throw a Baseball Overhand: Step-by-Step Guide
Throwing a baseball overhand the right way comes down to three things: grip the ball across the seams, point your lead shoulder at your target, and release the ball out front at about eye level. Get those three pieces right, and the ball flies straight and fast. Get them wrong, and you’re basically launching a pop can into the wind. Curious about the upper limits? Our guide to the fastest human baseball throws shows what elite arms can do.
Here’s the good news: overhand throwing is a skill anyone can learn, not some natural gift you’re born with. We researched what pitching coaches and physical therapists recommend, and the advice is surprisingly simple. Most throwing problems come from just a few easy-to-fix mistakes, like dropping your elbow or opening up too early.
So, what’s the quick version before we dig in?
- Hold the ball with your index and middle fingers across the seams.
- Step toward your target as you bring your arm back.
- Keep your elbow above your shoulder during the throw.
- Release the ball out in front of your body, not behind your head.
- Follow through fully so your arm doesn’t take a beating.
Below, we break down the whole motion step by step, from grip to follow-through. We’ll also cover the most common mistakes we found, so you can fix them before they become bad habits. Grab a ball, and let’s get that arm working like it should.
Throwing a Baseball Overhand, Step by Step
Ready to put it all together? Here’s the full motion, broken into five simple steps. Practice them slowly at first. Speed comes later; accuracy comes first. Think of it like learning a dance: you go slow until your feet know the moves, then you add music.
Step 1: Get the Grip Right
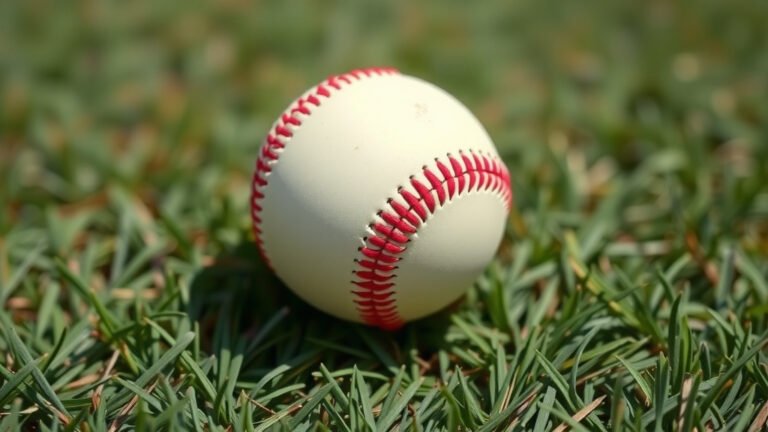
Hold the ball with your index and middle fingers laid across the two widest seams. Your thumb rests underneath for support. Leave a small gap between the ball and your palm. If the ball sits deep in your hand, it turns into a shot put. Nobody wants that.
Grip too tight? You’ll strangle the ball. Too loose? It might slip out mid-throw. We found that a light, relaxed hold gives you the best backspin, which is what keeps the ball flying straight instead of wobbling like a confused duck.
Step 2: Set Your Stance and Find Your Target
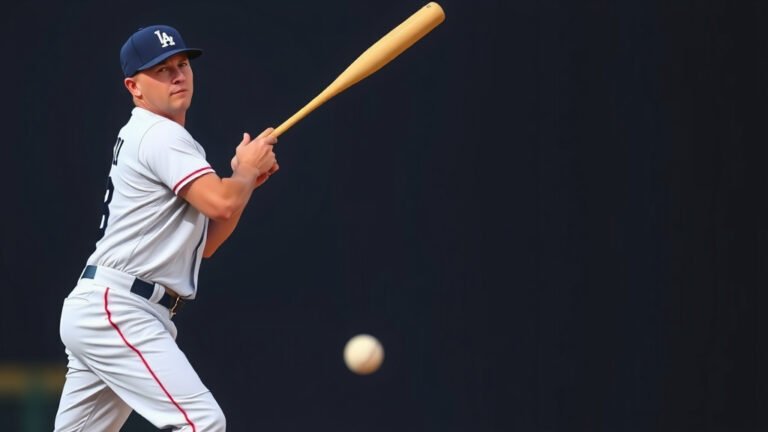
Stand sideways to your target, feet about shoulder-width apart. Your lead shoulder, the one closest to the target, should point where you want the ball to go. Eyes locked on the target the whole time.
Why does this matter? Many coaches describe the shoulders as a set of railroad tracks. If your front shoulder aims at the target, everything downstream lines up. If it points somewhere else, the ball goes somewhere else too.
Step 3: Load Up and Step Toward the Target
Shift your weight onto your back foot as you lift your front leg. Then step straight toward the target, landing with your toes pointed at it. As you step, your throwing arm comes back and up, with your elbow leading slightly.
Keep the arm loose during this part. A stiff arm moves slow. A relaxed one whips. Imagine your arm is a wet towel you’re about to snap at a friend’s back. That’s the feeling you want.
Step 4: Rotate and Bring Your Arm Through
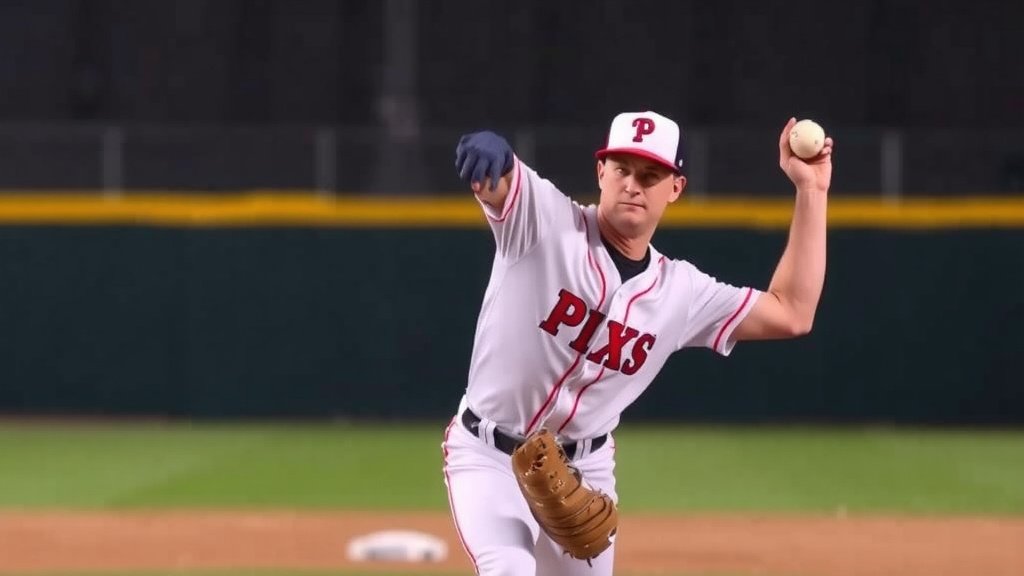
Now the fun part. Your hips and torso rotate toward the target, dragging your arm along. Your elbow should stay at or above shoulder height as your hand comes forward. This is the piece most people rush, and rushing it kills both speed and accuracy.
Experts who study throwing mechanics agree the body works like a chain, from the ground up. Power starts in your legs, moves through your hips and torso, and finishes at your hand (Cleveland Clinic). If any link breaks, you lose speed and your arm picks up the slack. That’s how injuries happen.
Step 5: Release and Follow Through
Let the ball go out in front of your body, roughly at eye level. Your hand should feel like it’s reaching toward the target, not flipping the ball behind your head. After release, let your arm continue down across your body. That full follow-through is not just for style points.
Follow-through spreads out the stress on your shoulder and elbow. Stopping your arm abruptly means your muscles absorb all that force at once. Sports medicine sources, including the Mayo Clinic, point to proper follow-through and gradual throwing progressions as key parts of protecting young arms. So finish the motion. Your elbow will thank you.
Common Overhand Throwing Mistakes and Easy Fixes
Most throwing problems trace back to a handful of habits. We found the same three culprits come up again and again in coaching guides. Here’s how to spot them and fix them.
Dropping Your Elbow
When your elbow dips below your shoulder, the ball changes angle and your arm takes extra stress. The fix is simple to practice: stand in front of a mirror, go through your motion slowly, and watch your elbow. If it sinks, think “elbow up” as your hand comes forward. Some players use a wall drill, standing a few feet from a wall so a dropped elbow would bump it. Instant feedback, no coach required.
Opening Up Too Early
This means your chest and front shoulder rotate toward the target before your arm is ready. The ball sprays sideways, usually high and away. The fix is patience in your stride. Let your front foot land first, then rotate. Count it out loud if it helps: “step, then throw.” Your accuracy will improve almost immediately.
Throwing Too Hard, Too Soon
Everyone wants to show off the cannon arm. But max-effort throwing with cold muscles or poor form is a fast track to soreness. Researchers studying youth arm injuries, much of it summarized on NIH-backed resources, stress that overuse is one of the biggest risk factors for elbow and shoulder damage. Build volume and speed gradually. Save the heater for when your form is automatic. Thinking about taking these throws onto the mound? Our beginner’s guide to playing pitcher covers arm care and conditioning next.
Here’s a quick comparison to keep yourself honest:
| Mistake | What It Looks Like | Quick Fix |
|---|---|---|
| Dropped elbow | Ball sails high or sinks oddly | Mirror and wall drills, “elbow up” cue |
| Opening up early | Throws fly wide of the target | Land your stride foot, then rotate |
| Palm-ball grip | Slow, wobbly throws | Fingers across the seams, gap in the palm |
| No follow-through | Sore arm after short sessions | Let the hand finish across your body |
Warm-Up and Arm Care Before You Throw
Your arm is not a light switch. It needs a ramp. Medical groups, including the Cleveland Clinic, recommend light activity and dynamic movement before any throwing session. Cold muscles are stiff muscles, and stiff muscles tear.
We put together a simple pre-throw checklist. Run through it every time, even for casual catch. Habits built now stick around.
- Jog or move for 3 to 5 minutes to raise your body temperature.
- Do arm circles, both directions, about 10 each way.
- Stretch your shoulder and wrist gently, no bouncing.
- Start throwing from a short distance at half speed.
- Back up slowly as your arm warms up.
- Stop if you feel sharp pain, not just tiredness.
How Long Until It Feels Natural?
Honestly? It depends on how often you practice. Short, frequent sessions beat one long weekend workout. Ten to fifteen minutes of focused throwing a few times a week builds muscle memory far faster than an occasional hour of chaos. Many experts say motor skills settle in through repetition, not brute effort. So keep the sessions short, keep the form clean, and let the speed show up on its own. Before long, you won’t be thinking about any of these steps. You’ll just be throwing, and hitting your target, without even trying.
Conclusion
Throwing overhand well isn’t about a strong arm. It’s about a clean sequence: grip across the seams, aim your lead shoulder, step toward your target, keep that elbow up, and finish with a full follow-through. We found that almost every throwing problem comes from rushing one of those pieces. Fix the sequence first, and speed shows up on its own. Protect your arm with a proper warm-up, keep your practice sessions short and frequent, and never push through sharp pain. Your next step is simple: grab a ball, run through the five steps slowly in front of a mirror, and commit to ten focused minutes a few times this week. Do that, and your throws will start finding their target before you know it.
Frequently Asked Questions
Should I throw overhand or sidearm?
For most players, overhand is the safer and more accurate choice. Sidearm throwing puts uneven stress on the elbow and shoulder, which is why many coaches discourage it, especially for young arms. Unless a coach is teaching you a specific sidearm delivery for a reason, stick with overhand.
Can adults learn to throw a baseball properly, or is it too late?
It’s absolutely not too late. Throwing is a motor skill, and adults often learn faster because they can focus on coaching cues and self-correct. Expect a few weeks of awkward reps before the motion feels smooth. Short, regular practice sessions will get you there.
How far apart should I start when practicing throws?
Start at about 15 to 20 feet, which is close enough to keep your form clean. Move back only when your throws hit the target consistently at the current distance. If your throws start sailing or bouncing, you’ve gone too far too soon, so step back in.
Why do my throws keep going high?
High throws usually mean you’re releasing the ball too late or your front side is flying open. Check that you’re letting go of the ball out in front of your body with your fingers staying on top. If your chest faces the target before your arm arrives, slow your stride and let your front foot land first.
Is it bad to throw every day?
Light, easy throwing every day is fine for most people, as long as the volume stays low and there’s no pain. What gets arms in trouble is daily max-effort throwing or big jumps in distance and intensity. If your arm feels sore or heavy the next day, take a rest day and let it recover.