Mastering the Pitcher: A Beginner’s Guide
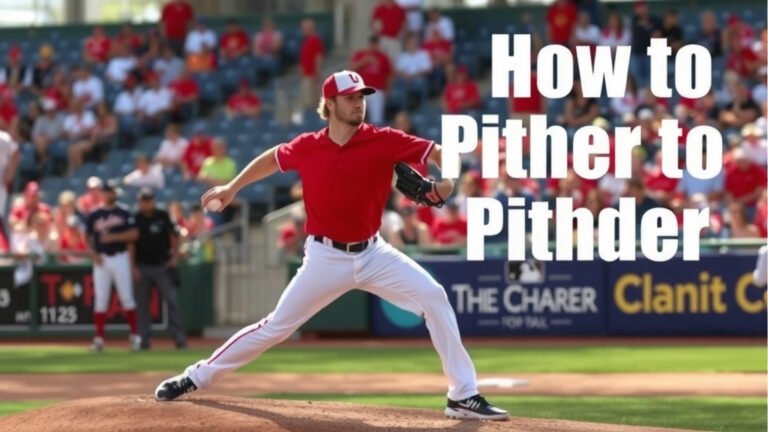
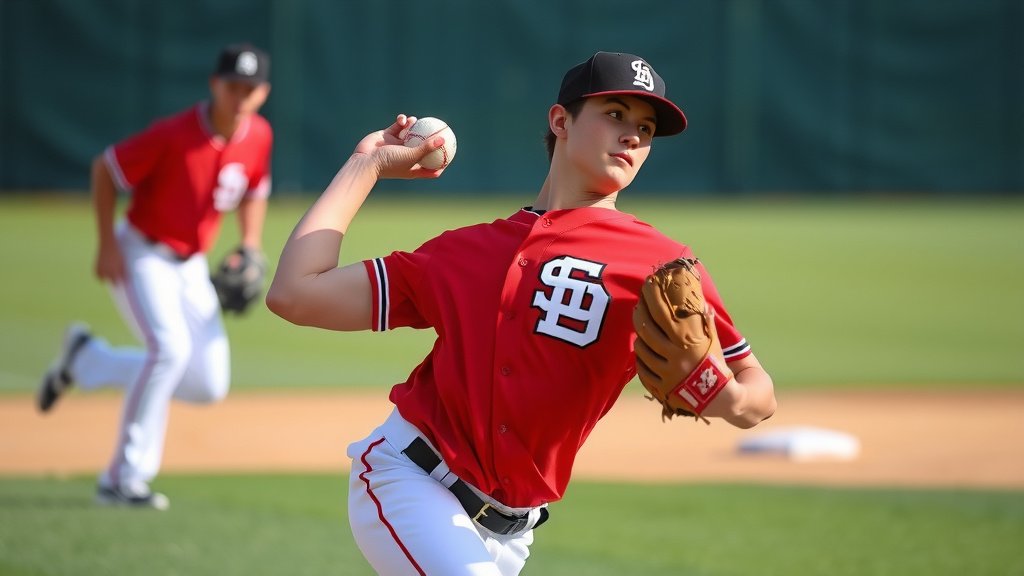
Playing pitcher in baseball means you’re the star of the show. Your main job is to throw the ball to the batter. You decide what pitch to throw and where it goes. Doing this well helps your team win games.
Being a pitcher involves a lot more than just throwing. You need a good understanding of the game. Knowing how to field your position is also key. Plus, building up your arm strength is super important for long-term success.
- Pitcher’s main job: throwing the ball to the batter.
- Control where the ball goes and what type of pitch.
- Requires game knowledge and fielding skills.
- Arm strength and conditioning are vital for pitchers.
Ready to learn the basics? Let’s walk through exactly how to play pitcher, step by step.
You’ve got the ball, the mound is your stage, and the batter is waiting. Playing pitcher is one of the most exciting and demanding roles in baseball. It’s your job to control the game’s rhythm. You have a big impact on every play.
Mastering the Art of Pitching
Becoming a great pitcher takes practice, skill, and smarts. It’s about more than just hurling the ball hard. You need to understand how to mix up your pitches. You also need to know where to throw them. Let’s break down the core skills you need.
The Basic Pitch: The Four-Seam Fastball
Every pitcher starts with the fastball. It’s your bread and butter. Think of it as your go-to pitch. The four-seam fastball is the fastest pitch you’ll throw. It also tends to have the least amount of movement. This makes it easier to control.
Grip and Release
To throw a four-seam fastball, find the horseshoe shape in the seams of the ball. Place your index and middle fingers across the widest part of the seams, parallel to each other. Your thumb should rest underneath the ball, between the other two fingers. Keep your fingers firm but not tense. When you throw, imagine pulling down on the seams. This helps create backspin, which makes the ball appear to rise slightly (though it’s actually just not dropping as much as other pitches).
Arm Motion and Body Mechanics
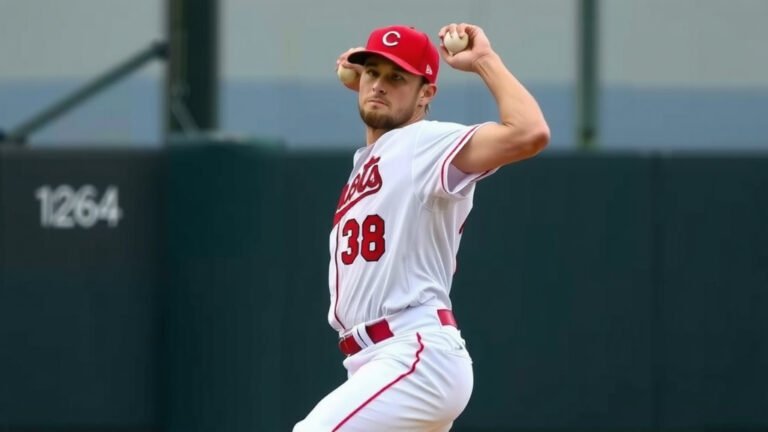
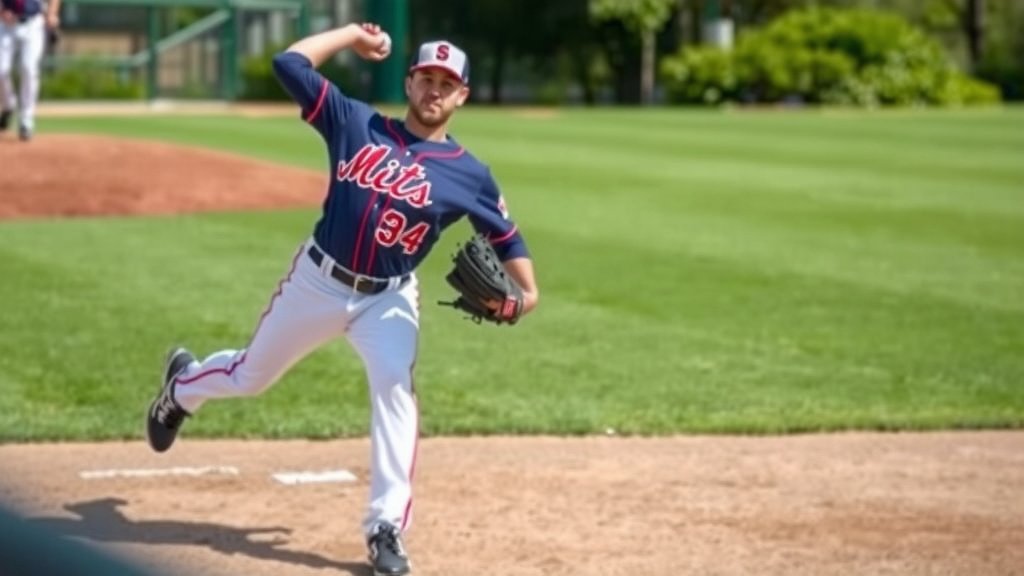
Your arm motion should be fluid. Start with a good wind-up or a quicker, stretch-and-go motion. Your arm should come up and over your head. Imagine throwing a dart. Your body should rotate with your arm. Your front leg should stride towards the plate. The release point is key. It should be consistent every time you throw. Research shows that proper mechanics reduce strain on your arm (American Sports Medicine Institute).
Developing Your Off-Speed Pitches
Once you’ve got a solid fastball, it’s time to add some spice. Off-speed pitches are slower than your fastball. They work by deceiving the hitter. They look like a fastball coming out of your hand. But they arrive at the plate much slower. This can lead to weak contact or a swing and a miss.
The Two-Seam Fastball
This is another type of fastball. But it’s thrown with a different grip. Place your index and middle fingers along the narrower seams, closer together. This grip causes the ball to have more movement, often a slight sink or run. Many pitchers use this pitch to induce ground balls. It’s a great pitch to have in your arsenal.
The Curveball
The curveball is famous for its dramatic break. To throw it, grip the ball with your middle finger along a seam. Your index finger rests next to it. Your thumb is on the opposite side of the ball. When you release, you want to “pull down” on the seams with your middle finger. This creates a spin that makes the ball dip downwards. It takes a lot of practice to throw a good curveball without hurting your arm. Many coaches advise waiting until you’re older to throw it frequently.
The Change-Up
This pitch is vital. It looks exactly like your fastball coming out of your hand. But it arrives much slower. You achieve this by changing your grip. Try holding the ball deeper in your hand. Or spread your fingers wider apart. Your arm action should remain the same as your fastball. This makes it harder for the batter to tell the difference. It’s a fantastic pitch for disrupting a hitter’s timing.
The Art of Location and Strategy
Throwing strikes is important. But throwing them smartly is even better. Where you throw the ball is just as important as how fast you throw it.
The Strike Zone is Your Friend
The strike zone is the area over home plate. It’s between the batter’s knees and the midpoint of their uniform shirt. Hitters want pitches in the strike zone. You want to make them chase pitches outside the zone. Or make them hit pitches they don’t like.
Pitching to Contact vs. Strikeouts
Sometimes, your goal is to get batters to hit the ball. This is called pitching to contact. You might throw more fastballs in the zone. Or pitches that are easy to hit. Other times, you need to get outs quickly. Then you might go for strikeouts. This means using your best breaking balls and fooling the hitter.
Reading the Hitter
Pay attention to the batter. What’s their stance like? Are they lunging at the plate? Do they seem impatient? You can use this information. If a batter is always swinging early, try a slower pitch. If they’re waiting for a specific pitch, give them something else.
Fielding Your Position
As a pitcher, you’re not just a thrower. You’re also a fielder. You have to be ready for balls hit back to you. This is often called the pitcher’s comeback. You need to be able to field ground balls cleanly.
Practice Your Grounders
It’s good to practice fielding ground balls. Get in a good stance. Watch the ball into your glove. Your glove should be low to the ground. This helps you field balls hit in the dirt. You’ll need to be able to throw accurately after fielding the ball. A quick, clean transfer is important.
Arm Care and Conditioning
Your arm is your most important tool. Taking care of it is not optional. It’s essential for a long and healthy career.
Warm-Up and Cool-Down Routines
Never throw hard without warming up. Start with light jogging and stretching. Then, do some arm circles. Gradually increase the intensity of your throws. After you finish pitching, cool down. Throwing a few easy pitches can help your arm recover. Many professional organizations recommend a structured arm care program (National Baseball Institute).
Strength Training
Building strength in your legs, core, and shoulders is key. This supports your throwing motion. It also helps prevent injuries. Exercises like squats, lunges, and core work are beneficial. Remember, a strong body makes for a strong arm. Always lift with proper form.
Rest is Crucial
Your body needs time to recover. Pitching puts a lot of stress on your arm. Make sure you get plenty of sleep. Don’t over-pitch, especially when you’re young. Listening to your body is the best way to avoid injury.
Your Pitching Checklist
- Learn the grip and mechanics for a four-seam fastball.
- Practice different grips for off-speed pitches like the change-up.
- Understand the strike zone and where hitters like the ball.
- Practice fielding ground balls hit back to the pitcher.
- Always warm up your arm before throwing hard.
- Give your arm plenty of rest between outings.
Conclusion
You’ve learned the fundamentals of playing pitcher, from mastering your fastball to understanding off-speed pitches and strategic location. Remember, great pitching is a blend of skill, smarts, and arm care. It’s about more than just throwing hard; it’s about controlling the game and helping your team succeed. Keep practicing your mechanics, listen to your body, and always be ready to field your position. Your next step? Grab a ball, find a mound or open space, and start building that arm strength and control. You’ve got this!
Frequently Asked Questions
How young is too young to start throwing curveballs?
Many coaches and sports medicine experts advise against young pitchers throwing curveballs frequently. Research suggests that throwing breaking balls can put extra stress on a developing arm. It’s generally recommended to wait until you’re older, typically in your mid-teens, and have built up arm strength and proper mechanics.
What’s the difference between a pitcher’s mound and flat ground?
A pitcher’s mound is an elevated area that gives you a height advantage over the hitter. Throwing from flat ground, like in the outfield or a bullpen session without a mound, requires you to generate more of your own momentum. Practicing on flat ground helps build leg strength and focus on your arm action without relying on the mound’s slope.
How do I know when my arm is too tired to pitch?
Listen to your body. If you feel persistent arm soreness that doesn’t go away with rest, or if your velocity drops significantly, it’s a sign to stop. Pushing through fatigue greatly increases your risk of injury. Always prioritize arm care and rest over trying to pitch through pain.
What should I do if a batter makes good contact against me?
Don’t get discouraged! Good hitters will hit good pitches sometimes. Focus on the next batter and the next pitch. Take a deep breath, review your strategy, and execute your next pitch with confidence. Every pitch is a new opportunity to make a great play.
Is it better to throw strikes or try to make batters chase bad pitches?
It’s usually best to throw strikes, but strategically. Aim for the edges of the strike zone or pitches that are just outside but look like strikes. This can tempt hitters to swing at pitches they can’t hit well. Being able to throw strikes consistently helps you control the count and your strategy.