
How to Restring a Baseball Glove: Step-by-Step Guide
Restringing a baseball glove yourself is totally doable. You can give your old glove new life by following a few simple steps. It’s a great way to save money and keep using that glove you love. We’ll show you how to get it done right.
A well-strung glove feels much better in your hand. It can even improve your fielding. It’s not just about looks; it’s about performance and comfort. Plus, knowing you fixed it yourself feels pretty good, right?
- Know what supplies you need first.
- Understand the lacing patterns.
- Lace the web and finger areas carefully.
- Break in your newly strung glove.
Ready to get your glove back in playing shape? Let’s walk through exactly how to restring it step by step.
Giving Your Baseball Glove New Lacing
Restringing your baseball glove might seem a bit daunting at first. But with a little patience, you can easily bring your favorite glove back to life. It’s a practical skill for any ballplayer. You’ll save money and keep that broken-in feel you love. We’ll walk you through the process step by step.
What You’ll Need for Glove Lacing
Before you begin, gather all your supplies. Having everything ready makes the job much smoother. You don’t want to be halfway through and realize you’re missing something important. Think of it like getting your toolbox ready before a big project.
Essential Glove Lacing Supplies
- Glove Lacing Material: You’ll need leather lacing. Most sports stores sell this. It usually comes in rolls of about 5-7 feet.
- Lacing Tool: A lacing tool, sometimes called a bone folder or awl, helps push and pull the lace through the holes. A small screwdriver can work in a pinch.
- Scissors or Knife: For cutting the old lace and trimming new lace. A sharp utility knife is ideal.
- Pliers: Needle-nose pliers can help grip the lace, especially when pulling tight.
- Leather Cleaner & Conditioner: This is for after the lacing is done. It will help soften the new lace and protect your glove.
- Gloves (Optional): Leather work gloves can protect your hands from blisters.
Choosing the Right Lacing Material
The type of lacing you use is important. Most gloves use leather lacing. Look for high-quality steerhide or cowhide. It should be about 3/16 inch wide. Some laces are pre-waxed, which helps them slide through the holes easier. You can also find different colors, so you can match your glove or get creative!
Understanding Glove Lacing Patterns
Baseball gloves have specific lacing patterns. These patterns determine how the glove closes and flexes. The main areas you’ll be re-lacing are the web, the finger stalls, and the heel. Different gloves have different designs. However, the basic principles are the same. You’ll be threading the lace back and forth through the pre-existing holes.
The Basic Lacing Stitch
The most common stitch is a simple over-and-under pattern. You thread the lace through one hole, then pull it through the next one. Then, you go back through the adjacent hole and continue the pattern. It creates a strong, flexible connection.
Web Lacing Explained
The web is the pocket area where you catch the ball. It’s usually the most visible lacing. The pattern here can vary widely between glove models. Some webs have a simple basket weave. Others have more complex criss-cross patterns. The goal is to create a secure pocket that doesn’t lose its shape. Many online videos show specific web patterns for popular glove brands.
Finger and Thumb Stall Lacing
This lacing keeps the fingers and thumb together. It’s crucial for the glove’s overall structure. You’ll typically lace up the sides of each finger stall. Then, you’ll connect the thumb to the index finger area. This lacing needs to be tight enough to hold things together but flexible enough for movement.
Step-by-Step Guide to Restringing Your Glove
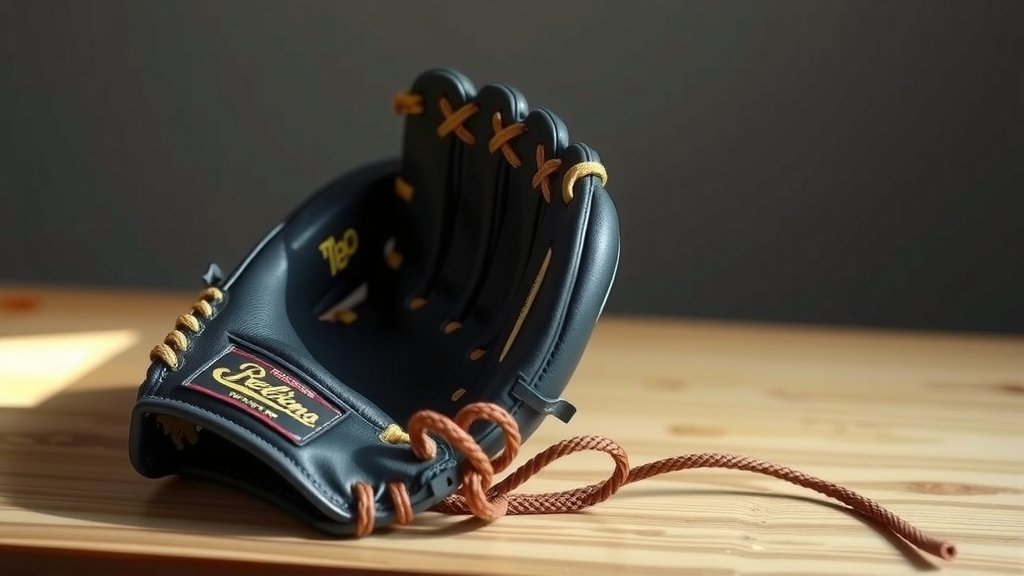
Now that you have your supplies and understand the patterns, let’s get to work! Take your time with each step. Rushing can lead to mistakes. If you’re unsure about a pattern, take pictures before you remove the old lace. This is your best reference.
Step 1: Remove the Old Lacing
Carefully cut out the old, worn-out lacing. Use your scissors or knife to snip the lace at its anchor points. Usually, this is where the lace is tied off. You can also gently pull the lace out with pliers. Try to remove it in as few pieces as possible. This helps avoid snagging anything inside the glove.
Step 2: Prepare Your New Lacing
Measure out a sufficient length of new lacing for each section. A good starting point for the web is about 3 feet. For the finger and thumb sections, you might need another 3-4 feet total. It’s always better to have a little extra than not enough. Thread one end of the lacing through your tool or a small piece of stiff material. This makes it easier to push through the glove’s holes.
Step 3: Lace the Glove’s Web
Start with the web if it was the most damaged. Thread your lacing through the starting hole. Pull it through, leaving a small tail. Then, begin the pattern. Work your way across the web, following the original holes. Keep the lacing snug, but not so tight that it deforms the glove. You want a consistent tension throughout. If your glove has a T-web, for example, you’ll be lacing around that T-bar.
Step 4: Lace the Finger and Thumb Stalls
Move on to the finger stalls. Lace up the sides, moving from the tip of the finger down towards the palm. Then, lace the thumb to the index finger area. This is where many gloves see wear. Ensure the lacing is firm here to provide support. You’ll be working from the outside in, connecting the different panels of the glove. Remember to match the original pattern as closely as you can.
Step 5: Secure the Ends
When you finish a section, you need to secure the end. The most common way is to tie a knot. You can create a loop with the lace and pass the end through it. Pull it tight. Some players like to tuck the knot inside the glove. Others might use a small dab of glue on the knot for extra security. Research found that a strong, reliable knot is key to preventing the lace from coming undone (Baseball Glove Care Experts).
Step 6: Check and Tighten
Once all the lacing is in place, go back and check the tension. Gently pull on the lacing in different areas. You want a consistent tightness. If some spots feel too loose, carefully tighten them. If a spot feels too tight and is distorting the glove’s shape, you may need to loosen and re-lace that section. This part requires a good feel for the glove.
Breaking In Your Newly Strung Glove
A freshly re-strung glove will feel a bit stiff. It’s not quite ready for game action yet. You need to break it in. This process softens the leather and helps the glove mold to your hand. It’s like breaking in a new pair of cleats.
The Glove Break-In Process
- Play Catch: This is the most natural way to break in a glove. Spend time playing catch with it. The repeated impact helps soften the leather.
- Glove Oil or Conditioner: Apply a small amount of glove oil or conditioner to the leather. Work it into the palm and fingers. Let it sit overnight. This helps make the leather more pliable. We found that using a small amount is better than drenching the glove (Glove Maintenance Manuals).
- The Glove Clamp Method: Some players use a glove clamp to keep the pocket formed. You can also use heavy books or a baseball placed in the pocket, then wrap the glove tightly with a rubber band or glove ties.
- Molding: Flex the glove repeatedly. Open and close it as much as you can. This helps the lacing set and the glove take your hand’s shape.
Breaking in a glove takes time and effort. Don’t expect it to be perfect after one session. With consistent use and care, your re-strung glove will soon feel like an extension of your own hand again.
Conclusion
You’ve now got the knowledge to restring your baseball glove. Giving your glove new life is totally achievable with the right supplies and a bit of patience. You learned about the essential tools, understanding lacing patterns, and the step-by-step process to get it done. Remember, taking clear pictures before you start is your best reference. After lacing, don’t forget to break it in properly.
Your next step is to gather your materials. Then, schedule some time to work on your glove. You’ll soon be back on the field with a comfortable, well-functioning glove that you fixed yourself.
Frequently Asked Questions
How long does it take to restring a baseball glove?
Restringing a glove typically takes between one to three hours. This time can vary depending on your experience level and the complexity of your glove’s lacing pattern. Taking your time ensures a better result.
Can I use something other than leather lacing?
While leather is the traditional and recommended material, some players have experimented with synthetic laces. However, research suggests that good quality leather provides the best flexibility, durability, and feel for a baseball glove. Stick with leather for optimal performance.
My glove feels too stiff after restringing, what should I do?
A freshly re-strung glove will feel stiff. You need to break it in properly. Playing catch, using glove oil or conditioner, and flexing the glove repeatedly will help soften the leather and lacing. Be patient; it takes time to mold to your hand.
How tight should the new lacing be?
You want the lacing to be snug and consistent, but not so tight that it distorts the glove’s shape. The goal is to create a secure pocket and finger structure without making the glove rigid. A firm, even tension is ideal.
What if I can’t find the original lacing pattern?
If you didn’t take pictures or the old pattern is too damaged, focus on creating a functional pattern. Lace the finger stalls securely, connect the thumb, and ensure the web creates a good pocket. You can find diagrams online for common glove models.